Learn how to use Redux to store and manage the data in React Native apps.
Table of contents
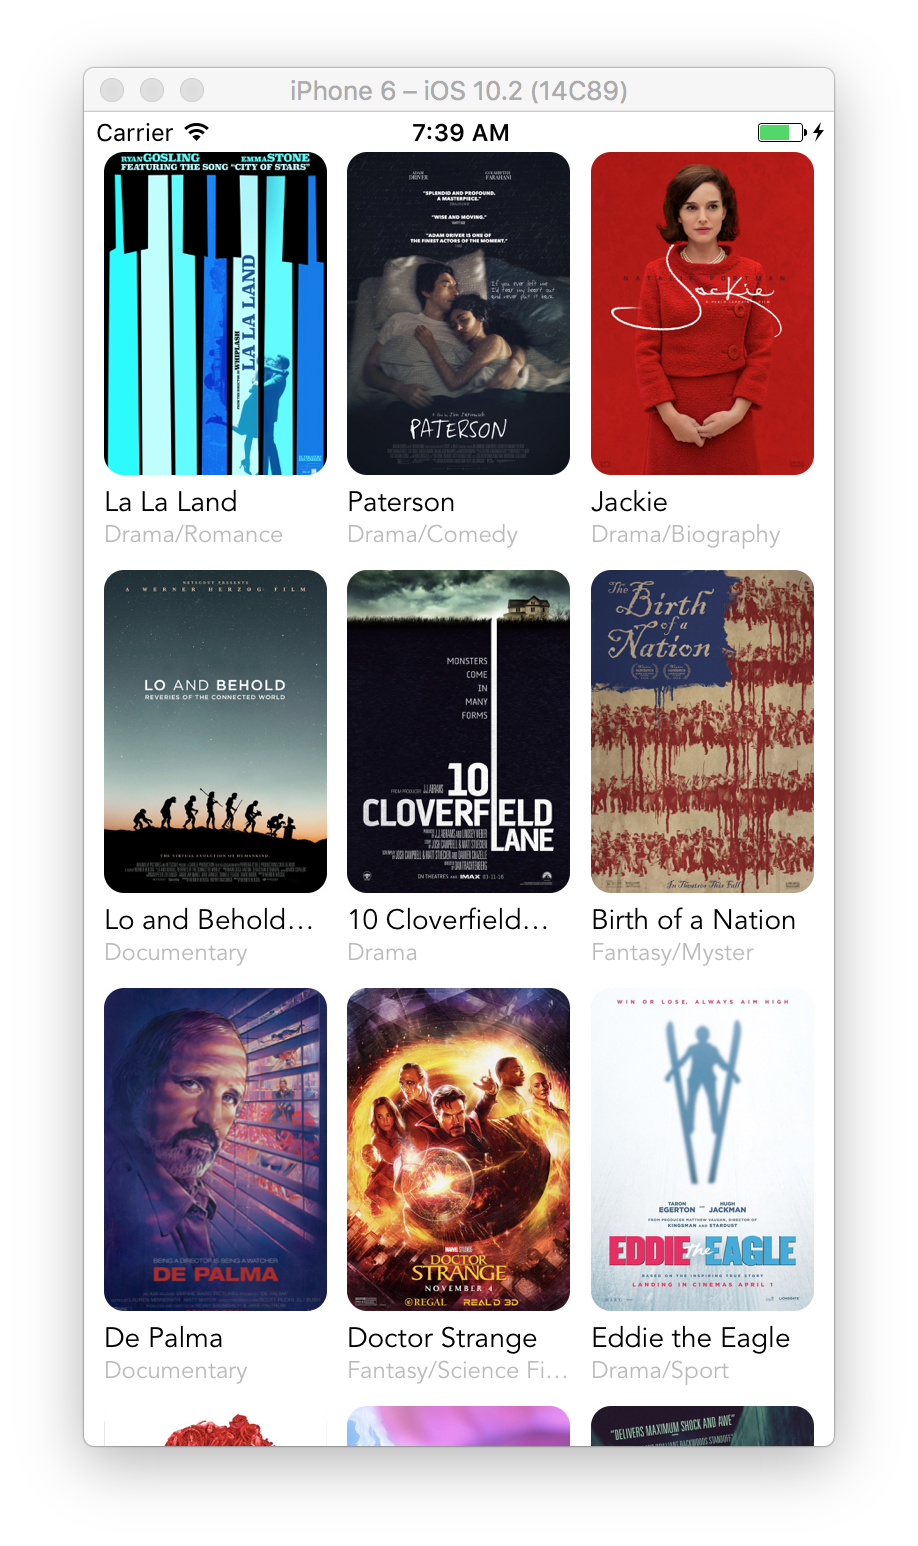
What We Will Be Building
In this tutorial we’re going to connect two pieces of a puzzle together:
And update Movie Tickets Booking app to use API Backend to fetch the data instead of having it hardcoded in javascript files, and to use Redux to store and manage the data.
For your reference, the final code for the app we’re building can be found in this GitHub repo.
Let’s Get Started
Let’s start off by checking out the code from previous tutorial. Open Terminal App and execute these commands:
git clone --branch part-1 https://github.com/rationalappdev/MovieTickets.git;
cd MovieTickets;
Install Dependencies
First of all, let’s install a couple of new dependencies.
- Redux to store and manage our data fetched from the API.
npm install --save redux react-redux
- Babel plugin to use ES7 decorators.
npm install --save-dev babel-plugin-transform-decorators-legacy
Update .babelrc
Next, we need to update .babelrc to enable ES7 decorators.
- Open
.babelrcfile and addtransform-decorators-legacyplugin that we just installed:
{
  "presets": ["react-native"],
  "plugins": ["transform-decorators-legacy"]
}
Configure Redux
Next, let’s configure our Redux reducer and middleware.
- Create a new file called
redux.jswithinsrcfolder and add a couple of things.
The first part is a middleware that is looking for GET_MOVIE_DATA action and calls the API when it’s dispatched.
Whenever you dispatch an action with Redux it goes through this middleware. And when GET_MOVIE_DATA is dispatched it dispatches GET_MOVIE_DATA_LOADING action to set loading flag to true in the storage and calls the API. And once it gets an API response it dispatches GET_MOVIE_DATA_RECEIVED action and passed the response data to it.
import { Platform } from 'react-native';

const API = Platform.OS === 'android'
  ? 'http://10.0.3.2:3000/v1' // works for Genymotion
  : 'http://localhost:3000/v1';

export const apiMiddleware = store => next => action => {
  // Pass all actions through by default
  next(action);
  switch (action.type) {
    // In case we receive an action to send an API request
    case 'GET_MOVIE_DATA':
      // Dispatch GET_MOVIE_DATA_LOADING to update loading state
      store.dispatch({type: 'GET_MOVIE_DATA_LOADING'});
      // Make API call and dispatch appropriate actions when done
      fetch(`${API}/movies.json`)
        .then(response => response.json())
        .then(data => next({
          type: 'GET_MOVIE_DATA_RECEIVED',
          data
        }))
        .catch(error => next({
          type: 'GET_MOVIE_DATA_ERROR',
          error
        }));
      break;
    // Do nothing if the action does not interest us
    default:
      break;
  }
};
And the second part is a reducer that handles dispatched actions and updates the storage. When apiMiddleware dispatches GET_MOVIE_DATA_RECEIVED this reducer is being called, and it pulls movie data out of passed response data and stores it in the storage. And then we can use this data in other components.
export const reducer = (state = { movies: [], loading: true }, action) => {
  switch (action.type) {
    case 'GET_MOVIE_DATA_LOADING':
      return {
        ...state,                   // keep the existing state,
        loading: true,              // but change loading to true
      };
    case 'GET_MOVIE_DATA_RECEIVED':
      return {
        loading: false,             // set loading to false
        movies: action.data.movies, // update movies array with reponse data
      };
    case 'GET_MOVIE_DATA_ERROR':
      return state;
    default:
      return state;
    }
};
Update the App
Now, let’s wire our Redux storage into the app.
- Open
app.jsfile insrcfolder and add a few things:
import { createStore, applyMiddleware } from 'redux';
import { Provider } from 'react-redux';
import { apiMiddleware, reducer } from './redux';
- Create Redux storage, apply
apiMiddlewareto it, and dispatchGET_MOVIE_DATAaction right away:
// Create Redux store
const store = createStore(reducer, {}, applyMiddleware(apiMiddleware));

// Fetch movie data
store.dispatch({type: 'GET_MOVIE_DATA'});
- And finally, wrap
<Navigator>returned byrender()method with<Provider store={store}></Provider>as follows:
export default class App extends Component {
  render() {
    return (
      <Provider store={store}>
        <Navigator
          // Default to movies route
          initialRoute={{ name: 'movies' }}
          // Use FloatFromBottom transition between screens
          configureScene={(route, routeStack) => Navigator.SceneConfigs.FloatFromBottom}
          // Pass a route mapper functions
          renderScene={RouteMapper}
        />
      </Provider>
    );
  }
}
That will make our Redux storage available to every component that needs it.
Update Movies Component
Finally, let’s update Movies component to use the data from Redux storage instead of JavaScript files.
- Open
Movies.jsfile insrcfolder and add a few more imports:
import { connect } from 'react-redux';
import {
  ActivityIndicator,
  RefreshControl,
  // ...others
} from 'react-native';
- Connect Redux storage and
refreshactions toMoviescomponent using@connectdecorator:
@connect(
  state => ({
    movies: state.movies,
    loading: state.loading,
  }),
  dispatch => ({
    refresh: () => dispatch({type: 'GET_MOVIE_DATA'}),
  }),
)
export default class Movies extends Component {
// ...
- Update
render()method to pullmovies`, `loading`, and `refreshout ofthis.propsand update<ScrollView>component:
  render() {
    const { movies, loading, refresh } = this.props;
    return (
      <View style={styles.container}>
        {movies
          ? <ScrollView
              contentContainerStyle={styles.scrollContent}
              // Hide all scroll indicators
              showsHorizontalScrollIndicator={false}
              showsVerticalScrollIndicator={false}
              refreshControl={
                <RefreshControl
                  refreshing={loading}
                  onRefresh={refresh}
                />
              }
            >
              {movies.map((movie, index) => <MoviePoster
                movie={movie}
                onOpen={this.openMovie}
                key={index}
              />)}
            </ScrollView>
          : <ActivityIndicator
              animating={loading}
              style={styles.loader}
              size="large"
            />
        }
        <MoviePopup
          movie={this.state.movie}
          isOpen={this.state.popupIsOpen}
          onClose={this.closeMovie}
          chosenDay={this.state.chosenDay}
          chosenTime={this.state.chosenTime}
          onChooseDay={this.chooseDay}
          onChooseTime={this.chooseTime}
          onBook={this.bookTicket}
        />
      </View>
    );
  }
- Add
flex: 1tocontainerstyle, and addloaderstyle as follows:
const styles = StyleSheet.create({
  container: {
    flex: 1,                // take up all screen
    paddingTop: 20,         // start below status bar
  },
  loader: {
    flex: 1,
    alignItems: 'center',     // center horizontally
    justifyContent: 'center', // center vertically
  },
  // ...existing styles
All Set
And we’re all done. Let’s launch our app to make sure that everything is working as expected and movie data is being fetched from the API.
- Launch the API backend that we built in this tutorial API Backend with Node.js, Express, and MongoDB
- Launch the app by executing
react-native run-iosin terminal.
And there it is. Try to click, hold, and pull down anywhere on the screen to see activity indicator shows up at the top of the screen. And once you release, it dispatches GET_MOVIE_DATA and updates the storage. So, if you changed your data in MongoDB, it would have been updated in the app.
Wrapping Up
Hopefully, you’ve enjoyed the tutorial and have learned a lot. Subscribe to get notified about new tutorials. And if you have any questions or ideas for new tutorials, just leave a comment below the post.