Table of contents
What We Will Be Building
We’re going to build an app that shows animated cat GIFs! It will use the API to fetch those GIFs and change one with another every few seconds. And it’s going to preload a few GIFs and store them in AsyncStorage. So, if a user loses their internet connection or closes and opens the app, the GIFs are still there.
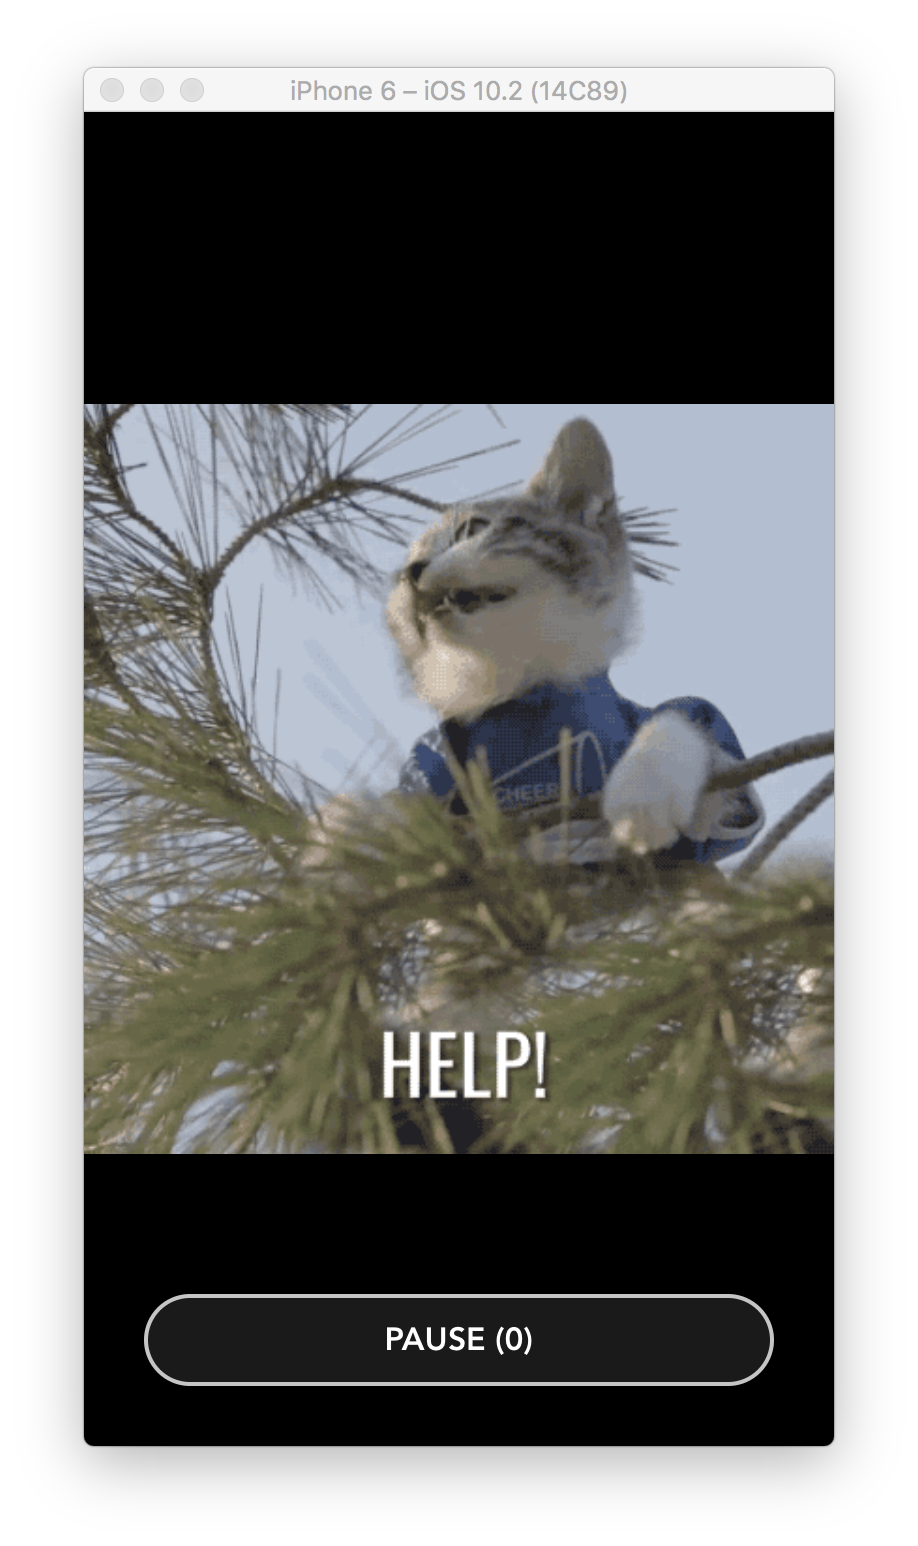
That’s how it’s going to look like.

What Tools We Will Use
Actually, we’re going to build two apps. A mobile app and API backend that serves GIFs to our mobile app.
Here are the tools we’re going to need:
- ES6. The latest version of the ECMAScript (JavaScript) standard.
- Mobile App:
- React Native. A framework for building native apps using React.
- Redux. A predictable state container for JavaScript apps.
- Redux Persist. Persist and rehydrate a redux store.
- API Backend:
- Nodejs. A platform that allows JavaScript to be used outside the Web Browsers, for creating web and network applications.
- Express. Node.js web application framework.
Initialize New Project
Let’s start off by creating a new project. Open Terminal App and run these commands:
react-native init Catflix;
cd Catflix;
API Backend
First, let’s build the backend. The idea is that the backend searches GIPHY API for random GIFs, downloads them, converts binary files into Base64 encoded strings and serves those to our mobile app.
Base64 is a group of similar binary-to-text encoding schemes that represent binary data in an ASCII string format by translating it into a radix-64 representation. Read more at Base64 – Wikipedia
Initialize Nodejs Project
- Create a new folder called
backend:
mkdir backend;
cd backend;
- Use
npm initto create thepackage.jsonfile, so we can install backend dependencies separately from React Native app:
npm init;
It’s going to ask you a few questions. You can just press return to give the default answers for each question.
Install Dependencies
First, install dev dependencies that we’ll going to need during development:
npm install --save-dev babel babel-cli babel-preset-es2015 babel-preset-stage-0 nodemon
And next, install the dependencies that we’ll use to do some work:
npm install --save base64-stream express giphy-api
Create .babelrc File
- Create a new file called
.babelrcwith the following content:
{
  "presets": ["es2015", "stage-0"]
}
That will allow us to use ES6 standard of JavaScript that we have access to when developing React Native apps.
Add Start Script
Next, let’s add start script to run the backend.
- Open
package.jsonfile and findscriptsobject:
  "scripts": {
    "test": "echo \"Error: no test specified\" && exit 1"
  },
- Add one more line after
test:
  "scripts": {
    "test": "echo \"Error: no test specified\" && exit 1",
    "start": "node_modules/nodemon/bin/nodemon.js -- node_modules/babel-cli/bin/babel-node.js server.js"
  },
We’ll be using nodemon to automatically restart the server when we change anything in the code.
Create the Server
Let’s create a script that will run an HTTP server and handle incoming requests.
- Create a new file called
server.js.
First, import modules that we’re going to use.
import express from 'express';
import http from 'http';
import giphyapi from 'giphy-api';
import base64 from 'base64-stream';
Next, initialize the server, register /image route, and launch the server.
// Initialize http server
const app = express();

// Register /gif endpoint that returns base64 encoded gif
app.get('/gif', async (req, res) => {
  res.json({
    gif: await fetchGif(),
  });
});

// Launch the server on port 3000
const server = app.listen(3000, () => {
  const { address, port } = server.address();
  console.log(`Listening at http://${address}:${port}`);
});
Next, create a function called fetchGif that will be fetching images with Giphy API, download them using download function, and encode to Base64 using encode function. We’ll create these functions in the next steps.
// Fetch random GIF url with Giphy API, download and Base64 encode it
export const fetchGif = async () => {
  const item = await giphyapi().random('cat');
  return await encode(await download(item.data.image_url));
};
Create download function that downloads a file and returns a stream.
// File download helper
const download = async (url) => {
  return new Promise((resolve, reject) => {
    let req = http.get(url.replace('https', 'http'));
    req.on('response', res => {
      resolve(res);
    });
    req.on('error', err => {
      reject(err);
    });
  });
};
And the last one comes encode function that takes in a stream and converts it into Base64 encoded string.
// Base64 encode helper
const encode = async (content) => {
  let output = 'data:image/gif;base64,';
  const stream = content.pipe(base64.encode());
  return new Promise((resolve, reject) => {
    stream.on('readable', () => {
      let read = stream.read();
      if (read) {
        output += read.toString();
      }
      else {
        resolve(output);
      }
    });
    stream.on('error', (err) => {
      reject(err);
    });
  });
};
Launch the Server
Let’s launch the server and see how it works.
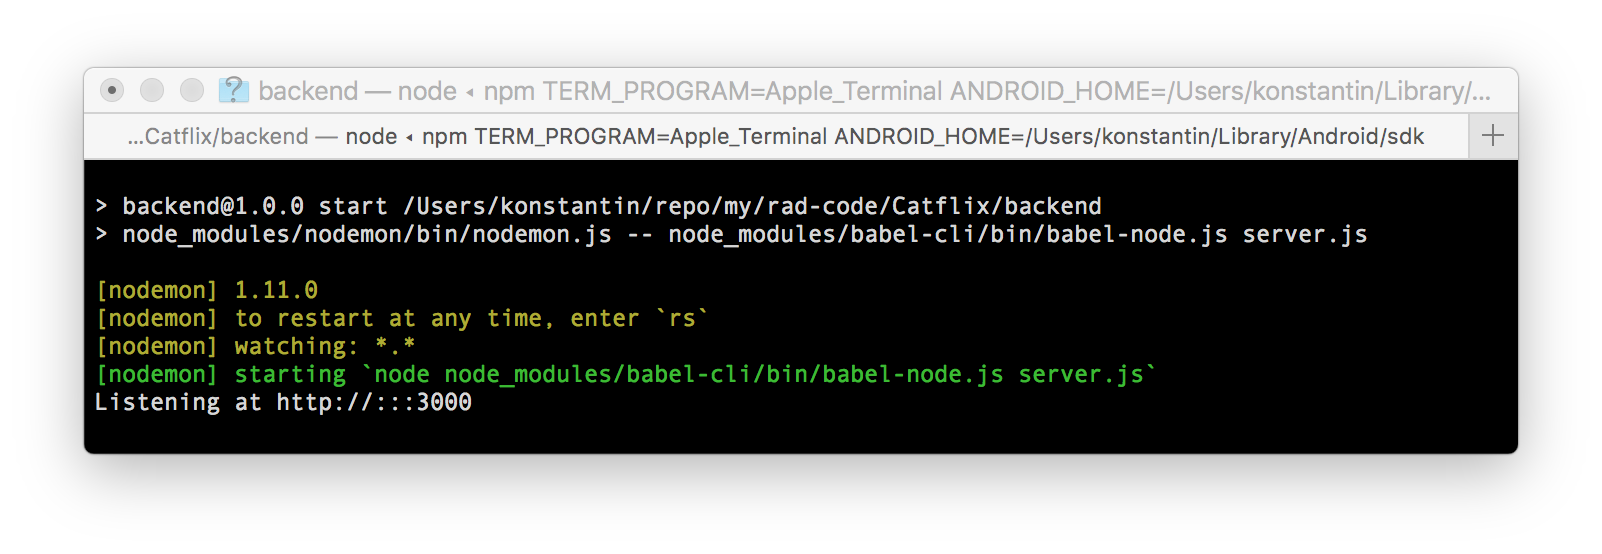
- Open Terminal App and execute:
npm start
You should see a confirmation that it’s running in your terminal.
Now, let’s open a browser and go to http://127.0.0.1:3000/gif. You should see a JSON response with lots of random characters. That’s our Base64 encoded GIF!
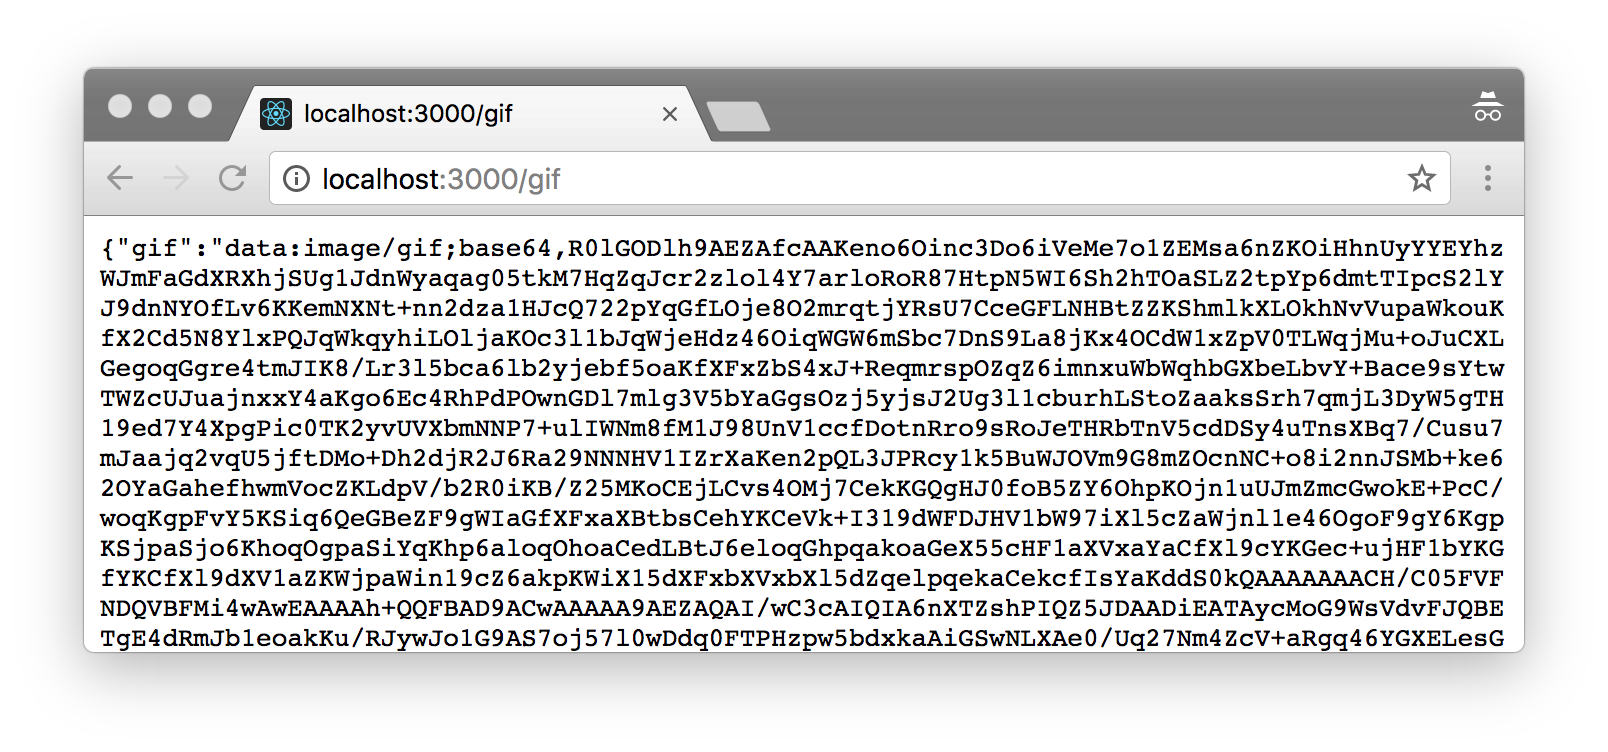
That means the server works. That’s great. Keep it running and let’s continue to the mobile app.
Mobile App
Now that we have our backend ready let’s build the mobile app.
Open new Terminal window and go to Catflix folder:
cd Catflix;
Install Dependencies
First of all, let’s install a couple of new dependencies.
- Redux to store and manage the data fetched from the API.
npm install --save redux react-redux
- Redux Thunk to allow us to have asynchronous actions.
npm install --save redux-thunk
- Redux Persist to store fetched data in AsyncStorage.
npm install --save redux-persist
- Redux Logger to log dispatched Redux actions into Chrome developer console. You won’t need this for production apps, but it’s very helpful for debugging.
npm install --save-dev redux-logger
- Lodash to help us operate on arrays.
npm install --save lodash
- Babel plugin to use ES7 decorators.
npm install --save-dev babel-plugin-transform-decorators-legacy
Update .babelrc
Next, we need to update .babelrc to enable ES7 decorators.
- Open
.babelrcfile and addtransform-decorators-legacyplugin that we just installed:
{
  "presets": ["react-native"],
  "plugins": ["transform-decorators-legacy"]
}
Launch the Simulator
Now, let’s run the app in the simulator.
react-native run-ios;
Enable Hot Reloading
Once your app is up and running, press ⌘D and select Enable Hot Reloading. This will save you some time having to reload the app manually every time you make a change.
Index Files
Next, let’s update our index files. Since we’re going to re-use the same code for both, iOS and Android, we don’t need two different index files. We’ll be using the same App component in both index files.
- Open
index.ios.jsfile and scrap all of the React Native boilerplate code to start from scratch. Do the same forindex.android.js. And add the following code to both of those files.
import { AppRegistry } from 'react-native';
import App from './src/app';

AppRegistry.registerComponent('Catflix', () => App);
This code imports App component from src/app.js file and registers it as the main app container.
Configure Redux Reducer and Actions
Next, let’s configure our Redux reducer and actions.
- Create a new folder called
srcinside your project folder. - Create a new file called
redux.jswithinsrcfolder.
First of all, let’s import some modules that we’re going to need, define some constants and the initial state.
import { Platform } from 'react-native';
import head from 'lodash/head';
import slice from 'lodash/slice';

// How many images to pre fetch
const PREFETCH_IMAGES = 5;

// API URL
const API = Platform.OS === 'android'
  ? 'http://10.0.3.2:3000' // Localhost ip address when running on Android (Genymotion)
  : 'http://localhost:3000';

// Initial state
export const initialState = {
  image: null,
  next: [],
};
Then, configure our reducer.
// Reducer
export const reducer = (state = initialState, action) => {
  switch (action.type) {
    // Handle API response with data object that looks like { gif: 'data:image/gif;base64,...' }
    case 'IMAGE_LOADED':
      return {
        ...state,
        // update current image if it's empty
        image: state.image || action.data,
        next: [
          action.data,              // put image an the beginning of next array
          ...state.next,            // put the existing images after
        ]
      };
    // Change current image with the next one
    case 'CHANGE_IMAGE':
      // Do nothing if next array is empty.
      // Just keep the current image till the new one is fetched.
      if (!state.next.length) {
        return state;
      }
      return {
        ...state,                   // keep the existing state,
        image: head(state.next),    // get fist item from next array
        next: [
          ...slice(state.next, 1),  // drop first item from next array
        ],
      };
    // Handle API request errors
    case 'ERROR':
      return state;                 // do nothing
    default:
      return state;
  }
};
And two actions. The first one is fetchImage that makes API call and passes the response to the reducer.
// Fetch next random image action
export const fetchImage = () => async (dispatch, getState) => {
  // Make API call and dispatch appropriate actions when done
  try {
    const response = await fetch(`${API}/gif`);
    dispatch({
      type: 'IMAGE_LOADED',
      data: await response.json(),
    });
    // Fetch more images if needed
    if (getState().next.length < PREFETCH_IMAGES) {
      dispatch(fetchImage());
    }
  } catch(error) {
    dispatch({
      type: 'ERROR',
      error
    })
  }
};
And the second one is changeImage that swaps current image on the screen with the next one from prefetched images array.
// Change image to tne next one
export const changeImage = () => (dispatch, getState) => {
  dispatch({ type: 'CHANGE_IMAGE' });
  // Fetch more images if needed
  if (getState().next.length < PREFETCH_IMAGES) {
    dispatch(fetchImage());
  }
};
App Component
Now, let’s create App component. It does only one thing. It creates Redux storage and passes it down to child Container component by wrapping in into Provider component.
Container component doesn’t exist yet. We’ll create it in the next step. That’ll be a container that is connected to Redux storage and shows the GIFs.
- Create a new file called
app.jswithinsrc.
First, import all modules.
import React, { Component } from 'react';
import { createStore, applyMiddleware } from 'redux';
import { Provider } from 'react-redux';
import { initialState, apiMiddleware, reducer } from './redux';
import thunk from 'redux-thunk';
import logger from 'redux-logger';
import Container from './container';
Next, create Redux store and apply thunk and logger middleware.
const store = createStore(
  reducer,
  initialState,
  applyMiddleware(
    thunk,
    logger
  ),
);
And finally, export App component.
export default class App extends Component {
  render() {
    return (
      <Provider store={store}>
        <Container />
      </Provider>
    );
  }
}
Container Component
The final step.
- Create a new file called
container.jswithinsrcfolder.
First of all, let’s import some modules and define constants.
import React, { Component } from 'react';
import {
  Image,
  StyleSheet,
  Text,
  TouchableOpacity,
  View
} from 'react-native';
import { connect } from 'react-redux';
import { bindActionCreators } from 'redux';
import { fetchImage, changeImage } from './redux';

const CHANGE_IMAGE_AFTER_SECONDS = 5;
Next, define Container class and connect it to Redux storage. We need to get image from the storage and to bind fetchImage and changeImage actions.
@connect(
  state => ({
    image: state.image,
  }),
  dispatch => ({
    actions: { ...bindActionCreators({ fetchImage, changeImage }, dispatch) }
  }),
)
export default class Container extends Component {
  // ... Continue here
}
Let’s continue building Component class after opening curly bracket {.
First, define state and component lifecycle events to fetch image when the component is mounted, and to start the countdown once the first initial image is loaded.
  state = {
    countDown: CHANGE_IMAGE_AFTER_SECONDS,  // Seconds till next image is shown
    paused: undefined,                      // Whether changing images is paused or not
  };

  // Fetch image once component mounted
  componentWillMount() {
    this.props.actions.fetchImage();
  }

  // Start changing images with timer on first initial load
  componentWillReceiveProps(nextProps) {
    if (nextProps.image && this.state.paused === undefined) {
      this.resume();
    }
  }
Next goes decreaseTimer function that is getting called every second to decrease the timer and reset it back if it went to zero.
  // Decrease timer by one second
  decreaseTimer = () => {
    let secondsLeft = this.state.countDown - 1;
    if (secondsLeft < 0) {
      // reset the countdown
      secondsLeft = CHANGE_IMAGE_AFTER_SECONDS;
      this.changeImage();
    }
    this.setState({
      countDown: secondsLeft,
    });
  };
Next are pause, resume and toggle functions to control the timer.
  // Pause the countdown
  pause = () => {
    this.setState({
      paused: true,
    }, () => clearInterval(this._timer));
  };

  // Resume or start the countdown
  resume = () => {
    this.setState({
      paused: false,
    }, () => {
      // Call this.decreaseTimer every second
      this._timer = setInterval(this.decreaseTimer, 1000);
    });
  };

  // Toggle between pause/resume
  toggle = () => {
    this.state.paused ? this.resume() : this.pause();
  };
Next one is changeImage that calls Redux action to change the current image with one from the prefetched images.
  // Change image
  changeImage = () => {
    this.props.actions.changeImage();
  };
And finally, render method that renders the image and a button at the bottom that allows to pause/resume the countdown.
  render() {
    const { image } = this.props;
    if (!image) {
      return <View style={styles.container}>
        <Text style={styles.text}>Loading...</Text>
      </View>;
    }
    return (
      <View style={styles.container}>
        <Image
          style={{ flex: 1 }}
          resizeMode='contain'
          source={{ uri: image.gif }}
        />
        <View style={styles.buttonContainer}>
          <TouchableOpacity style={styles.button} onPress={this.toggle}>
            <Text style={styles.text}>
              {this.state.paused ? "RESUME" : `PAUSE (${this.state.countDown})`}
            </Text>
          </TouchableOpacity>
        </View>
      </View>
    );
  }
That’s it for Container class. Now, let’s add some styles after Container class definition closing curly bracket }.
export default class Container extends Component {
  // ... code we previously added here
}

const styles = StyleSheet.create({
  container: {
    flex: 1,
    backgroundColor: 'black',
    justifyContent: 'center',
  },
  text: {
    color: 'white',
    fontWeight: 'bold',
    fontFamily: 'Avenir',
    textAlign: 'center',
    fontSize: 16,
  },
  buttonContainer: {
    ...StyleSheet.absoluteFillObject,
    flex: 1,
    backgroundColor: 'transparent',
    justifyContent: 'flex-end',
    paddingHorizontal: 30,
    paddingVertical: 30
  },
  button: {
    backgroundColor: 'rgba(255, 255, 255, .10)',
    borderColor: 'rgba(255, 255, 255, .75)',
    borderWidth: 2,
    borderRadius: 50,
    paddingHorizontal: 40,
    paddingVertical: 10,
  },
});
If you want to write better code, I highly suggest you exercise in refactoring and break this component down into smaller components. Ideally, you wouldn’t have any presentational components, such as View, Image or Text and styles in Container component. It would just get the data from Redux storage, define state and how things should work. And it would pass the data and behaviors down to presentation components.
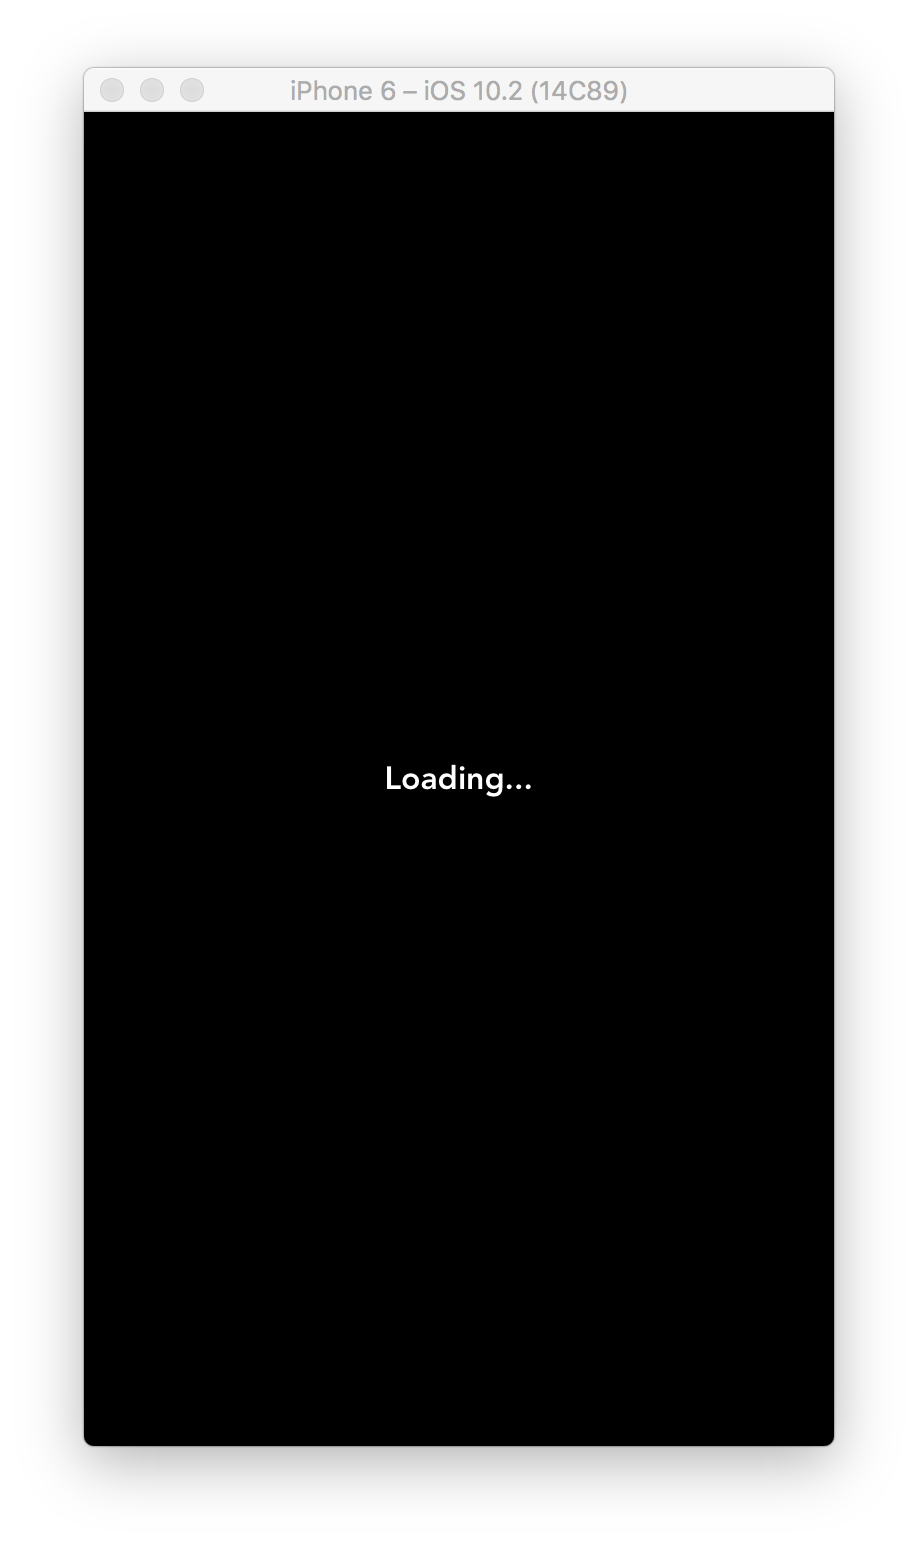
Check Out the Progress
First, make sure the backend server is still running. Then bring up the simulator window and press ⌘R to refresh the app. You should see this at first.
And then, once an image is loaded you should see the GIF!
Debugging with Redux Logger
If something goes wrong or if you’re just curious, let’s debug Redux actions. Press ⌘D and select Debug JS Remotely. That should open Chrome window that looks like this.
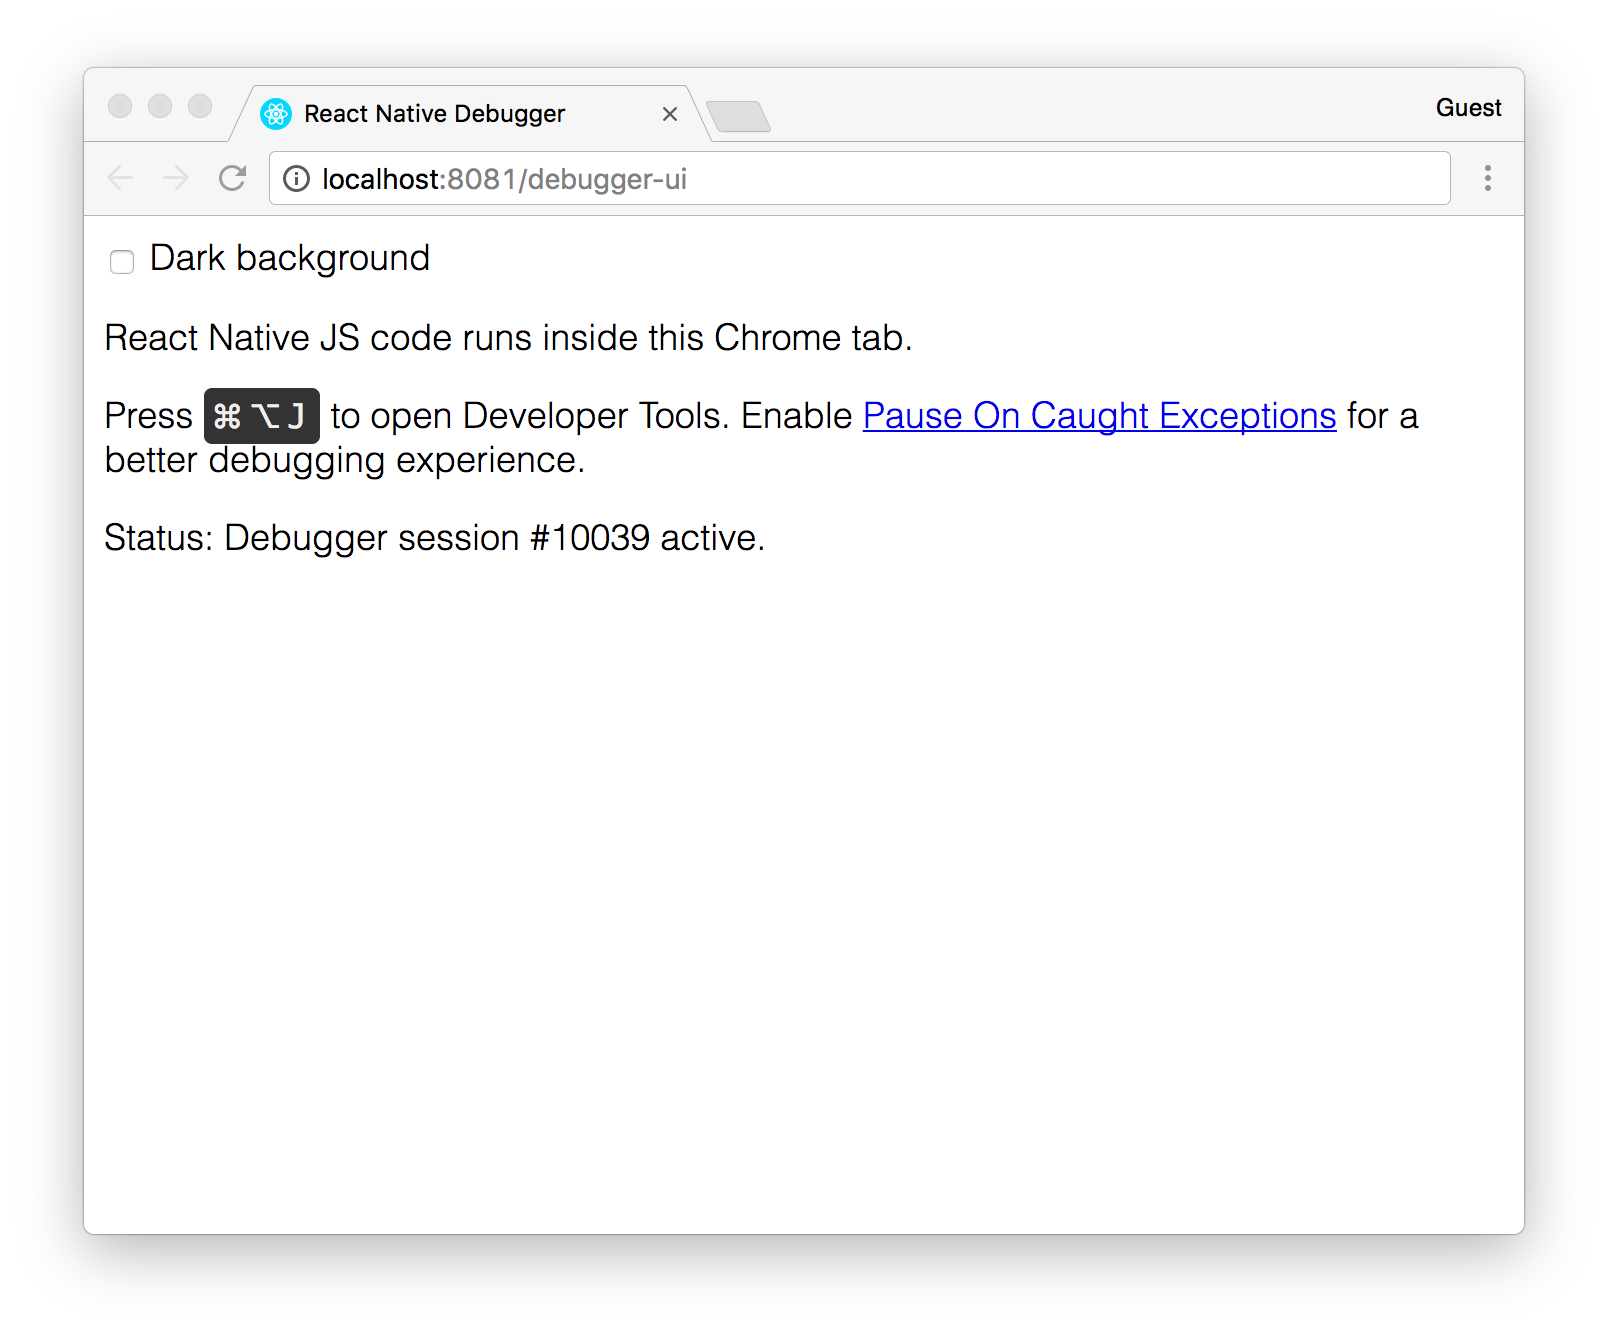
Now press ⌘⌥D in Chrome to open up Developer Console. You should see all of Redux actions logged there. Every action log includes previous state, action, and next state returned by the reducer.
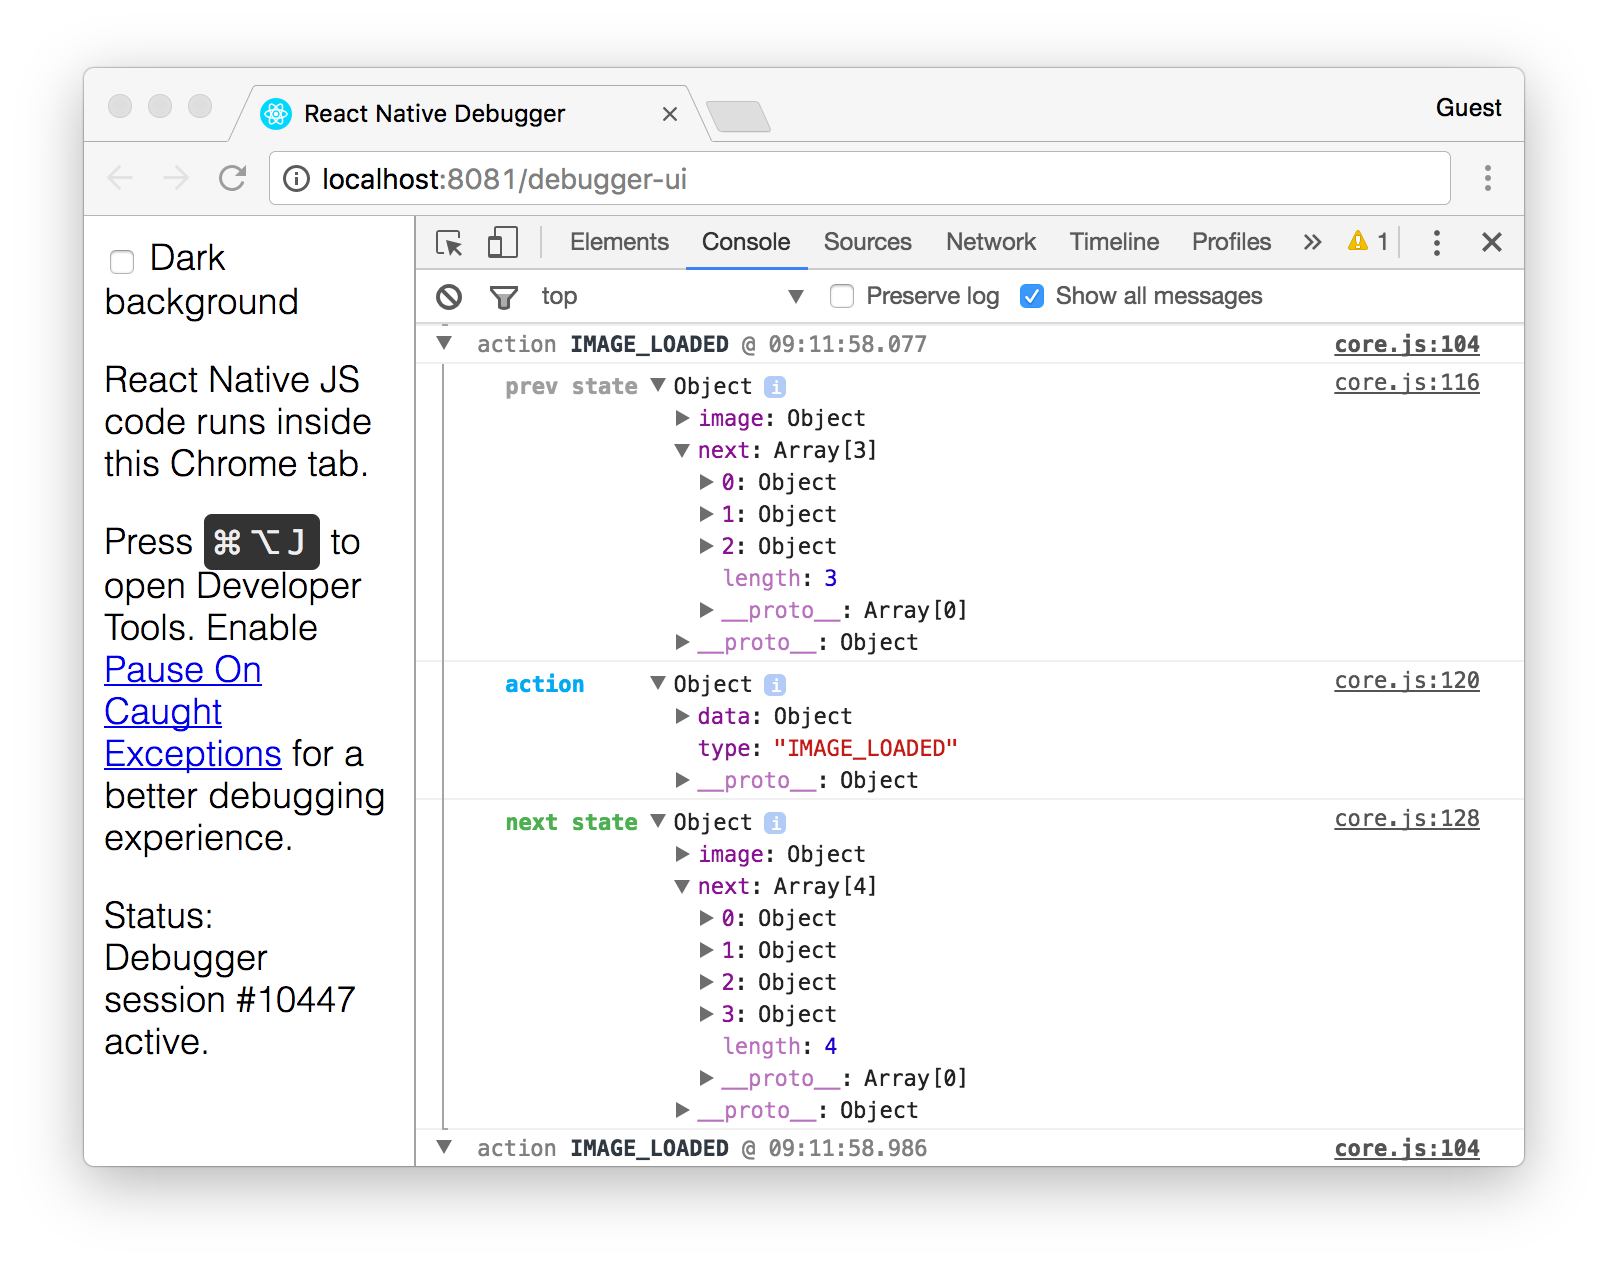
As you can see on the screenshot, reducer returned next state with one more image in next array after processing IMAGE_LOADED action.
Let’s Make it Work Offline!
The final step would be to make the app work offline. The goal is to use AsyncStorage to sync our Redux storage with the device storage. So next time a user opens the app all of the prefetched images are loaded from the mobile device storage, even if there is no internet connection. You might be surprised how easy it is with Redux Persist.
Let’s go back to App component and make a few changes.
- Open
app.jsfile fromsrcfolder.
Replace this line:
import { createStore, applyMiddleware } from 'redux';
With the following to also import compose from redux module:
import { compose, createStore, applyMiddleware } from 'redux';
Then, import persistStore and autoRehydrate from redux-persist and AsyncStorage:
import { AsyncStorage } from 'react-native';
import { persistStore, autoRehydrate } from 'redux-persist';
Replace existing storage creator:
const store = createStore(
  reducer,
  initialState,
  applyMiddleware(
    thunk,
    logger
  ),
);
With the following to add autoRehydrate that loads the data from device storage to Redux storage:
const store = createStore(
  reducer,
  initialState,
  compose(
    applyMiddleware(
      thunk,
      logger
    ),
    autoRehydrate()
  )
);
And finally, add persistStore that saves Redux storage into AsyncStorage storage right after:
// Begin periodically persisting the store
persistStore(store, { storage: AsyncStorage });
And that’s it! If you go to Chrome Developer Console you can see persist/REHYDRATE action is being dispatched when you launch the app. That action loads the data stored in AsyncStorage and puts it into Redux storage.
Wrapping Up
Hopefully, you’ve learned a lot and will be able to use that knowledge when building your apps! Subscribe to get notified about new tutorials. And if you have any questions or ideas for new tutorials, just leave a comment below the post.


Pingback: Handling Offline Actions in React Native | Rational App Development()