Learn how to build an API backend with Node.js, Express and MongoDB for a React Native app.
Table of contents
What We Will Be Building
In the previous tutorial, we built movie tickets booking app that stored all movie data in javascript files. That is obviously not what you want to do for a real world app. So, this time we’re going to build an API backend for our movie tickets booking app that will store movie data in a MongoDB database and will return it to the app as JSON data.
For your reference, the final code for the app we’re building can be found in this GitHub repo.
Prerequisites
MongoDB
To install MongoDB open Terminal App and execute:
brew install mongodb
Now, let’s create a folder that MongoDB will use to store our database data:
sudo mkdir -p /data/db
And set the correct permissions:
sudo chmod 777 /data/db
Finally, let’s launch MongoDB:
mongod&
Initialize Node.js Project
First, create a new folder:
mkdir MovieTicketsBackend;
cd MovieTicketsBackend;
Next, initialize new Node.js project by executing:
npm init
And answering a few questions asked in the terminal. It’s safe to give default answers to all questions.
That will create package.json file that is used to store your app’s info, scripts, and dependencies.
Install Dependencies
First, install dev dependencies that we’ll going to need during development and to run the app locally:
npm install --save-dev babel babel-cli babel-preset-es2015 babel-preset-stage-0 nodemon
And next, install all of the rest:
npm install --save body-parser express moment mongoose morgan
Create .babelrc File
- Create a new file called
.babelrcwith the following content:
{
  "presets": ["es2015", "stage-0"]
}
That will allow us to use ES6 features of JavaScript that we have access to when developing React Native apps. In case with React Native ES6 is enabled by default when you do react-native init project.
Add Scripts
Next, let’s add some scripts to run the app.
- Open
package.jsonfile and findscriptsobject:
  "scripts": {
    "test": "echo \"Error: no test specified\" && exit 1"
  },
And update it with the following:
  "scripts": {
    "test": "echo \"Error: no test specified\" && exit 1",
    "build": "node_modules/babel-cli/bin/babel.js ./ --source-maps --out-dir dist",
    "start": "node_modules/nodemon/bin/nodemon.js -- node_modules/babel-cli/bin/babel-node.js server.js",
    "populate": "node_modules/babel-cli/bin/babel-node.js populate.js"
  },
We’ll be using nodemon to automatically restart the server when we change anything in the code.
Starting with the Server
Let’s create a script that will run an HTTP server and handle incoming requests.
- Create a new file called
server.jswith the following content:
import express from 'express';

// Initialize http server
const app = express();

// Handle / route
app.get('/', (req, res) =>
  res.send('Hello World!')
)

// Launch the server on port 3000
const server = app.listen(3000, () => {
  const { address, port } = server.address();
  console.log(`Listening at http://${address}:${port}`);
});
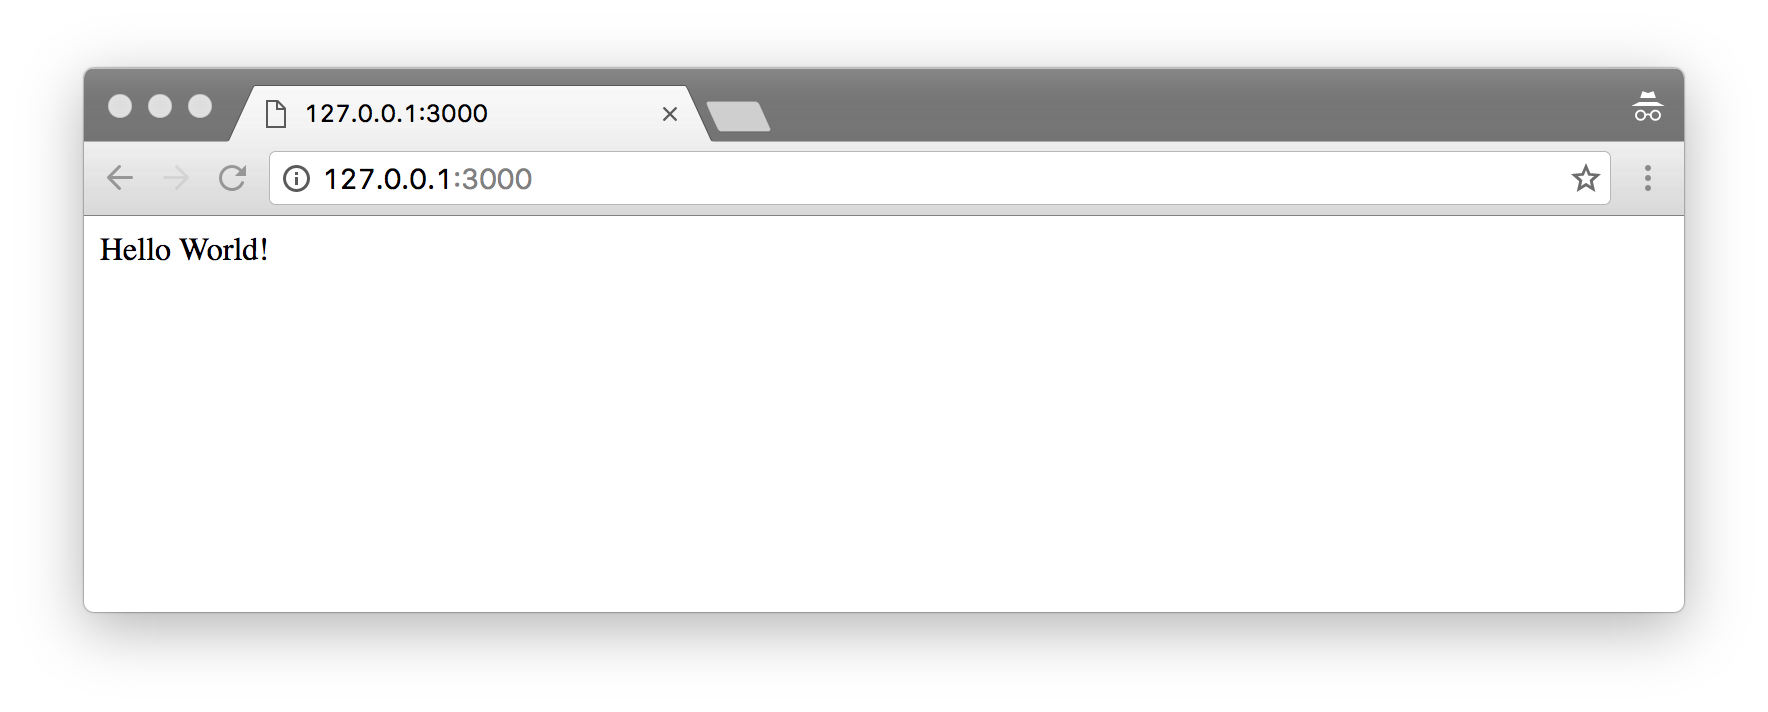
For now, it just outputs Hello World when GET request submitted to / route.
Let’s launch the server and see how it works.
- Open Terminal App and execute:
npm start
You should see a confirmation that it’s running in your terminal.

Now, let’s open a browser and go to http://127.0.0.1:3000/.

That’s great. The serves works. Next, let’s make it serve movie data as JSON object.
Movie Model
We’ll use Mongoose for modeling movie data. It makes writing MongoDB validation, casting and business logic a breeze.
- Create a new folder called
models. - Create a new file called
movie`.jswithinmodelsfolder with the following content:
import mongoose, { Schema } from 'mongoose';

// Define movie schema
var movieSchema = new Schema({
  title: {
    type: String,
    unique: true,
  },
  poster: String,
  genre: String,
  days: Array,
  times: Array,
});

// Export Mongoose model
export default mongoose.model('movie', movieSchema);
Populating MongoDB with Movie Data
Next, let’s populate the database with movie data.
- Create a new file called
populate.jswith the following content:
import mongoose from 'mongoose';
import Movie from './models/movie';

const movies = [
  {
    title: 'La La Land',
    poster: 'https://i.imgur.com/po7UezG.jpg',
    genre: 'Drama/Romance',
  },
  {
    title: 'Paterson',
    poster: 'https://i.imgur.com/pE0C9E0.jpg',
    genre: 'Drama/Comedy',
  },
  {
    title: 'Jackie',
    poster: 'https://i.imgur.com/VqUi1sw.jpg',
    genre: 'Drama/Biography',
  },
  {
    title: 'Lo and Behold Reveries of the Connected World',
    poster: 'https://i.imgur.com/s106X7S.jpg',
    genre: 'Documentary',
  },
  {
    title: '10 Cloverfield Lane',
    poster: 'https://i.imgur.com/kV2BVdH.jpg',
    genre: 'Drama',
  },
  {
    title: 'Birth of a Nation',
    poster: 'https://i.imgur.com/a6HJj8S.jpg',
    genre: 'Fantasy/Myster',
  },
  {
    title: 'De Palma',
    poster: 'https://i.imgur.com/oOIa73M.jpg',
    genre: 'Documentary',
  },
  {
    title: 'Doctor Strange',
    poster: 'https://i.imgur.com/kyHDVOk.jpg',
    genre: 'Fantasy/Science Fiction',
  },
  {
    title: 'Eddie the Eagle',
    poster: 'https://i.imgur.com/GNrdAuF.jpg',
    genre: 'Drama/Sport',
  },
  {
    title: 'Pride and prejudice and zombies',
    poster: 'https://i.imgur.com/KhbG0Lw.jpg',
    genre: 'Thriller/Action',
  },
  {
    title: 'Finding Dory',
    poster: 'https://i.imgur.com/BTexHYJ.jpg',
    genre: 'Comedy/Adventure',
  },
  {
    title: 'Green Room',
    poster: 'https://i.imgur.com/Q0Ysh7L.jpg',
    genre: 'Crime/Thriller',
  },
  {
    title: 'Kubo and the Two Strings',
    poster: 'https://i.imgur.com/uTFCKZc.jpg',
    genre: 'Fantasy/Adventure',
  },
  {
    title: 'In a Valley of Violence',
    poster: 'https://i.imgur.com/DTtJ62G.jpg',
    genre: 'Drama/Western',
  },
  {
    title: 'O.J.: Made in America',
    poster: 'https://i.imgur.com/T8uc6x8.jpg',
    genre: 'Documentary',
  },
  {
    title: 'Rogue One: A Star Wars Story',
    poster: 'https://i.imgur.com/zOF2iYc.jpg',
    genre: 'Science Fiction/Action',
  },
  {
    title: 'Sing Street',
    poster: 'https://i.imgur.com/C3ExEb6.jpg',
    genre: 'Drama/Romance',
  },
  {
    title: 'Zoolander 2',
    poster: 'https://i.imgur.com/ejlIijD.jpg',
    genre: 'Comedy',
  },
];

// Connect to MongoDB
mongoose.connect('mongodb://localhost/movies');

// Go through each movie
movies.map(data => {
  // Initialize a model with movie data
  const movie = new Movie(data);
  // and save it into the database
  movie.save();
});
- Open Terminal App and execute:
node_modules/babel-cli/bin/babel-node.js populate.js
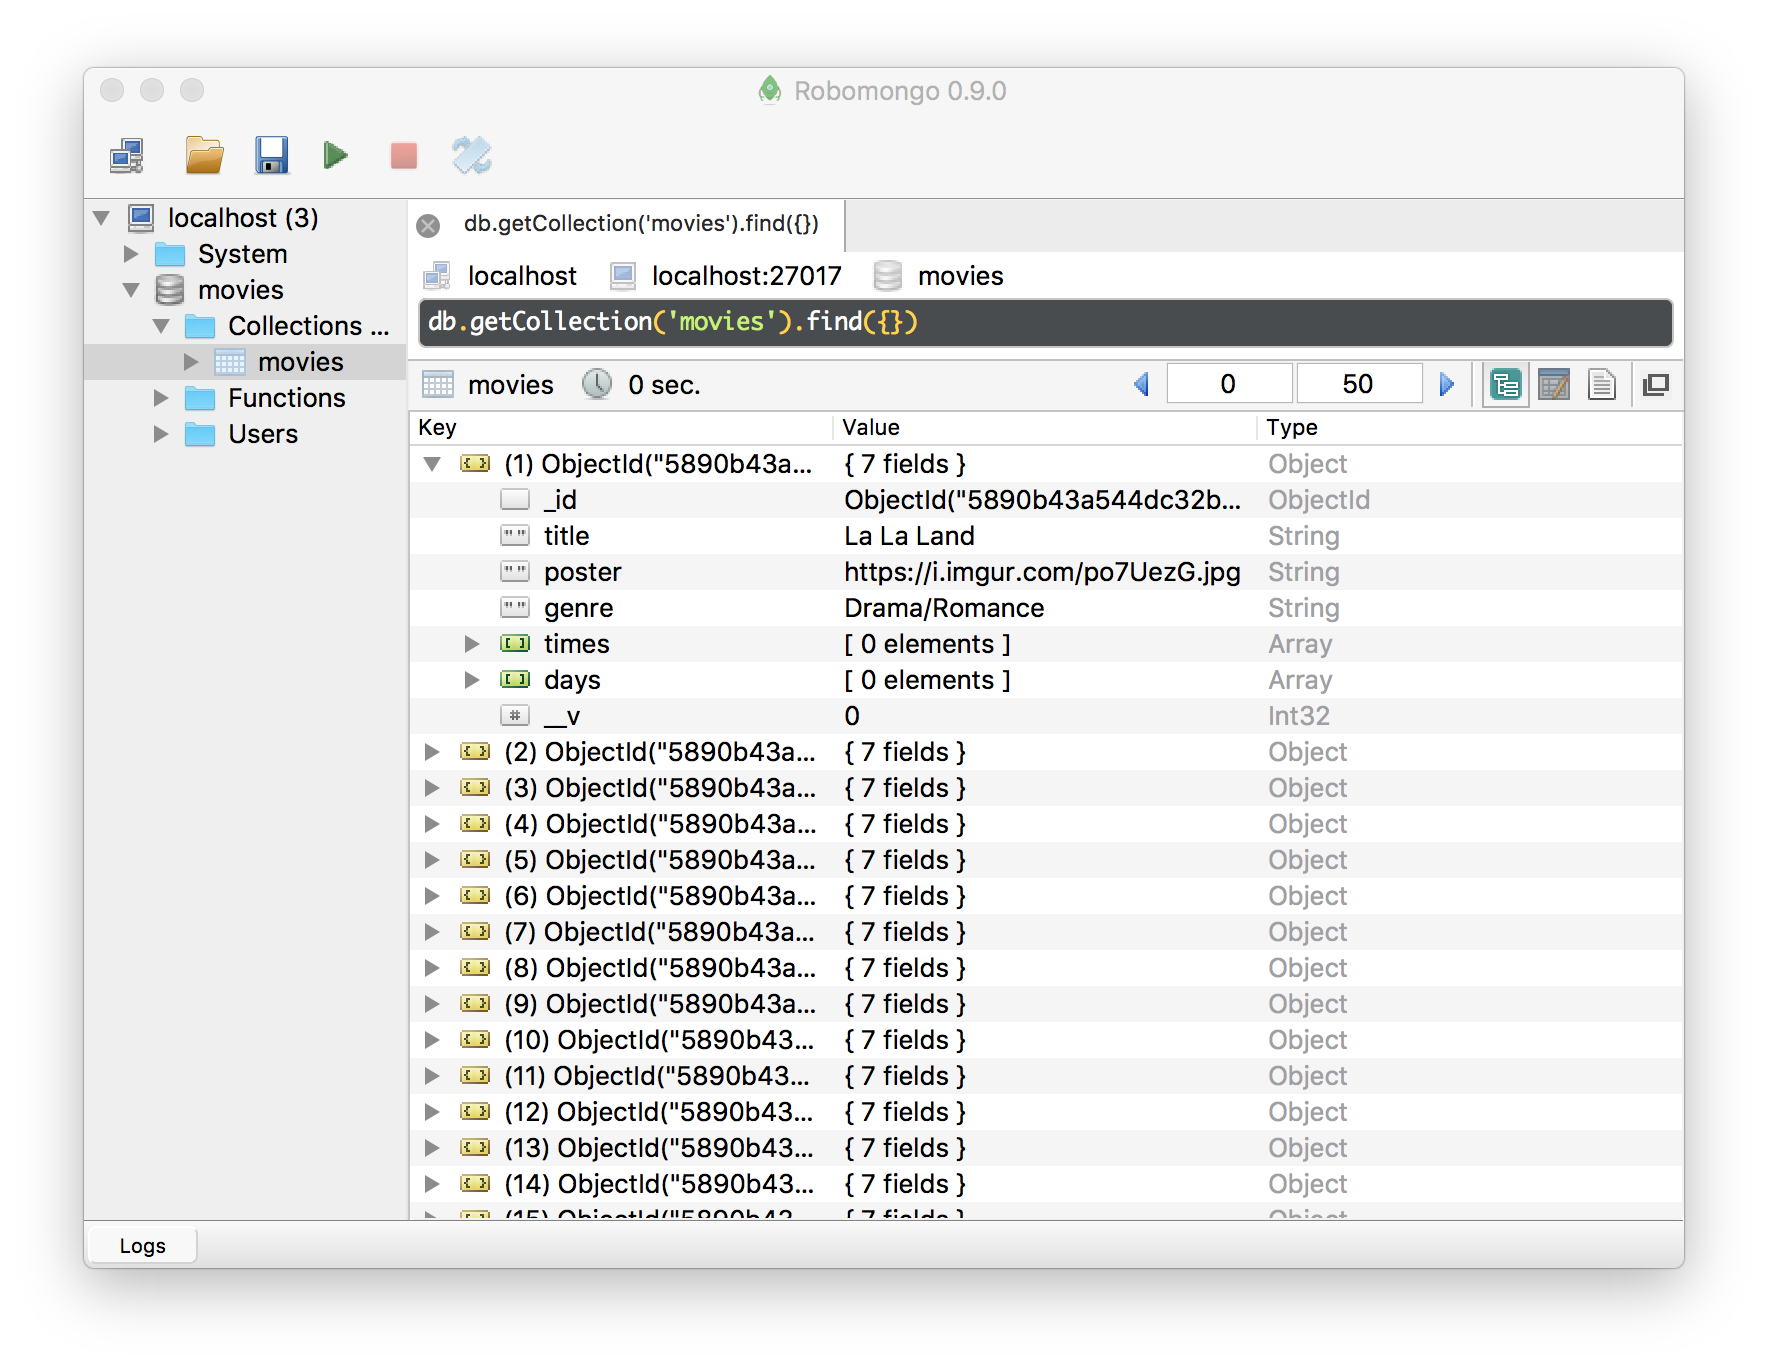
Now we have movie data in the database, and the server can get it and serve to the mobile app.

You can use Robomongo to manage your MongoDB databases.
Movies Controller
Let’s create a controller that will be responsible for serving movie data.
- Create a new folder called
controllers. - Create a new file called
movies`.jswithincontrollersfolder with the following content:
import Movie from '../models/movie';
import moment from 'moment';

// Hardcode the days for the sake of simplicity
const days = [ 'Today', 'Tomorrow', moment().add(2, 'days').format('ddd, MMM D') ];
// Same for the times
const times = [ '9:00 AM', '11:10 AM', '12:00 PM', '1:50 PM', '4:30 PM', '6:00 PM', '7:10 PM', '9:45 PM' ];

export const index = (req, res, next) => {
  // Find all movies and return json response
  Movie.find().lean().exec((err, movies) => res.json(
    // Iterate through each movie
    { movies: movies.map(movie => ({
      ...movie,
      days,     // and append days
      times,    // and times to each
    }))}
  ));
};
Set up a Router
Next part is a router, that will be responsible for handling incoming HTTPc requests and directing them to appropriate controllers.
- Create a new file called
router.jswith the following content:
import express, { Router } from 'express';
// Import index action from movies controller
import { index } from './controllers/movies';

// Initialize the router
const router = Router();

// Handle /movies.json route with index action from movies controller
router.route('/movies.json')
  .get(index);

export default router;
Update the Server
Finally, let’s update our server to connect to MongoDB and use the router that we just created.
- Open
server.jsfile and replace it with the following code:
import express from 'express';
import morgan from 'morgan';
import mongoose from 'mongoose';
import router from './router';

// Connect to MongoDB
mongoose.connect('mongodb://localhost/movies');

// Initialize http server
const app = express();

// Logger that outputs all requests into the console
app.use(morgan('combined'));
// Use v1 as prefix for all API endpoints
app.use('/v1', router);

const server = app.listen(3000, () => {
  const { address, port } = server.address();
  console.log(`Listening at http://${address}:${port}`);
});
It should automatically reload if you didn’t close it since we launched it the first time. And if you did, just execute npm start to launch it.
Get the Data
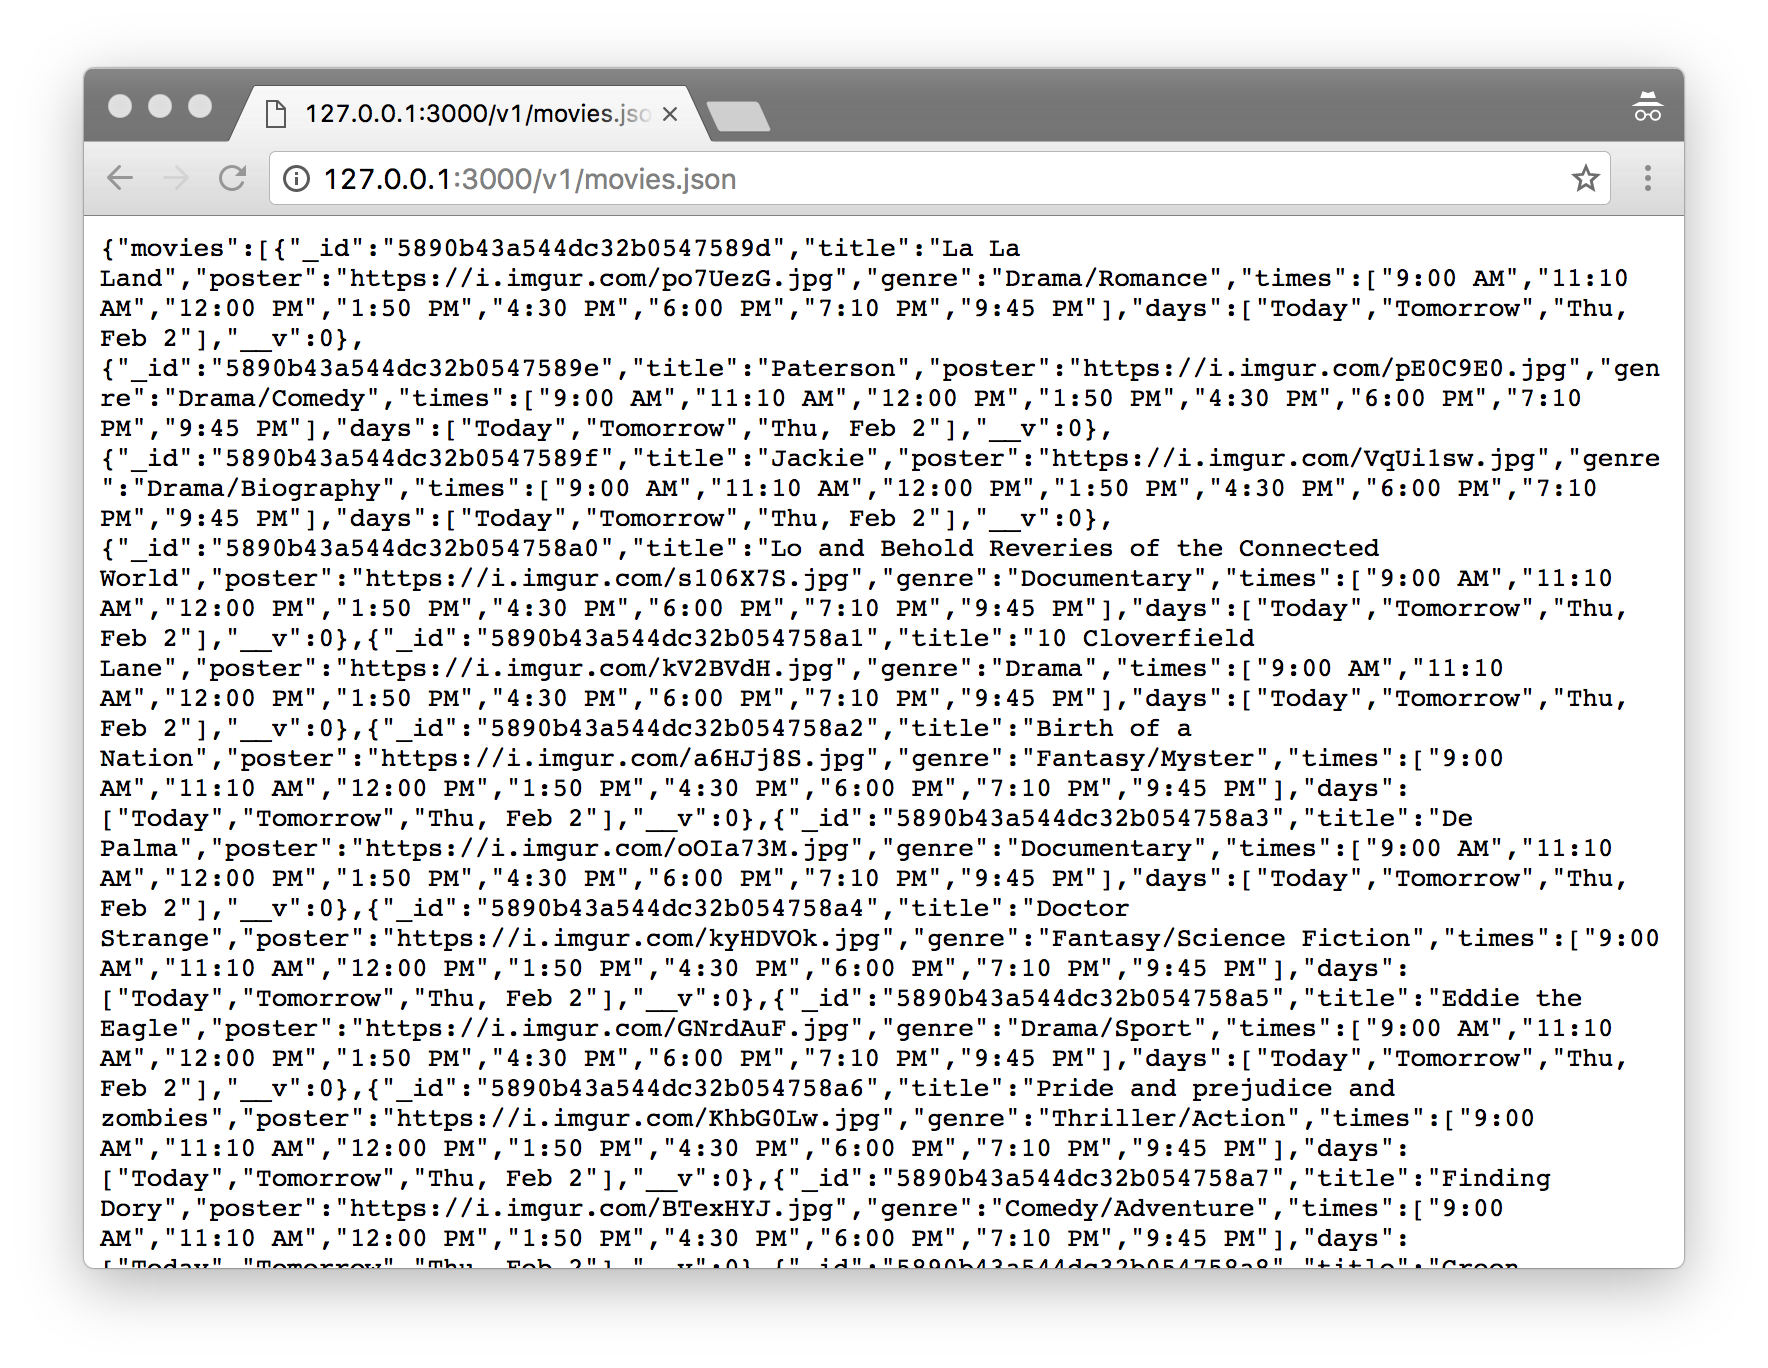
Open http://127.0.0.1:3000/v1/movies.json in your browser. And you should see a JSON object with movie data.

What’s Next
In the next tutorial we’ll update our Movie Tickets Booking App to use the API we just built instead of javascript files to get movie data, and to use Redux to store and manage the data.
Wrapping Up
Hopefully, you’ve enjoyed the tutorial and have learned a lot. Subscribe to get notified about new tutorials. And if you have any questions or ideas for new tutorials, just leave a comment below the post.


Pingback: Storing Data From API with Redux in React Native Apps | Rational App Development()