Table of contents
What We Will Be Building
We’ll build an app that implements three most popular navigation patterns:
- Tab navigation.
- Stack navigation.
- Modal navigation.
And as a bonus, we’ll add a side menu drawer into the mix.
Since Navigation component is deprecated and removed from the latest versions of React Native, we’ll use react-navigation library created by the community. It’s recommended by React Native team and very easy to use. It delivers a great performance and a native look by using native components. And it works great on both, iOS and Android.
The app that we’re about to build will look like this. It’s very basic, there’s pretty much nothing, but navigation. That should allow you better understand how navigation works and nothing will be distracting you.

For your reference, the final code for the app we’re building can be found in this GitHub repo.
Outlining the Structure
It’s always a good idea to plan you app code structure in advance and break everything down into smaller components. Let’s list the folder structure and the files that we’re going to need to build all of the components for the app.
App.jsthat’s the entry point for our app generated by create-react-native-app.srcfolder for all source file that we create.componentsfolder for re-usable components.Drawer.js. The side menu drawer component.HeaderButton.js. An icon button at the top left corner. We’ll use it for buttons that open the drawer and close the modal screen.
screensfolder for app screens.Modal.js. Modal screen.Profile.js. Profile screen.
tabsfolder for app screens that are shown as tabs.Home.js. Home tab screen.Settings.js. Settings tab screen.
Create React Native App
We’ll use Create React Native App to create our app instead of react-native init for a few reasons:
- It’s the easiest way to get started.
- Your app runs through Expo which allows you to run it on any phone that has Expo Mobile App (iOS, Android) installed as well as on iOS or Android simulators. It also supports all great dev tools available when running the app native way, including hot reloading and remote debugging.
- You don’t even have to install Xcode or Android Studio to run you app on the phone. Which means you can develop for your iOS device using Linux or Windows.
- You can always opt-out later to use the native build environment.
If you never used Create React Native App before, open your Terminal App and install it by executing:
npm install -g create-react-native-app
Also we’re going to need Yarn package manager. Please refer to the Installation Guide if you don’t have it installed yet.
When you navigate to any screen react-navigation passes navigation object to the screen component as a prop. So you can access it as this.props.navigation inside your screen component. This navigation object has three main things:
navigate(screen)function that navigates to any other screen.goBack()function that goes back to the previous screen.stateobject that hasrouteNamewith the current screen name andparamsobject with params that were passed to the current screen. It looks like this:
{
  routeName: "Profile",
  params: {
    user: "Tom"
  }
}
So, if you wanted to navigate to a different screen you could call this.props.navigation.navigate('ScreenName') and optionally pass any params to that screen by passing an object as a second argument to navigate function this.props.navigation.navigate('ScreenName', { user: "Tom" }). And then access those params in target screen as this.props.navigation.state.params.user.
Let’s Get Started
Let’s start off by creating a new app. Open Terminal App and run these commands to initialize a new project and run it in the simulator.
create-react-native-app Navigation;
cd Navigation;
npm run ios;
If you don’t have Xcode or Android Studio installed and you don’t want to run the app in the simulator you can run it on your phone by executing
npm startand opening a printed out QR code in the Expo mobile app.
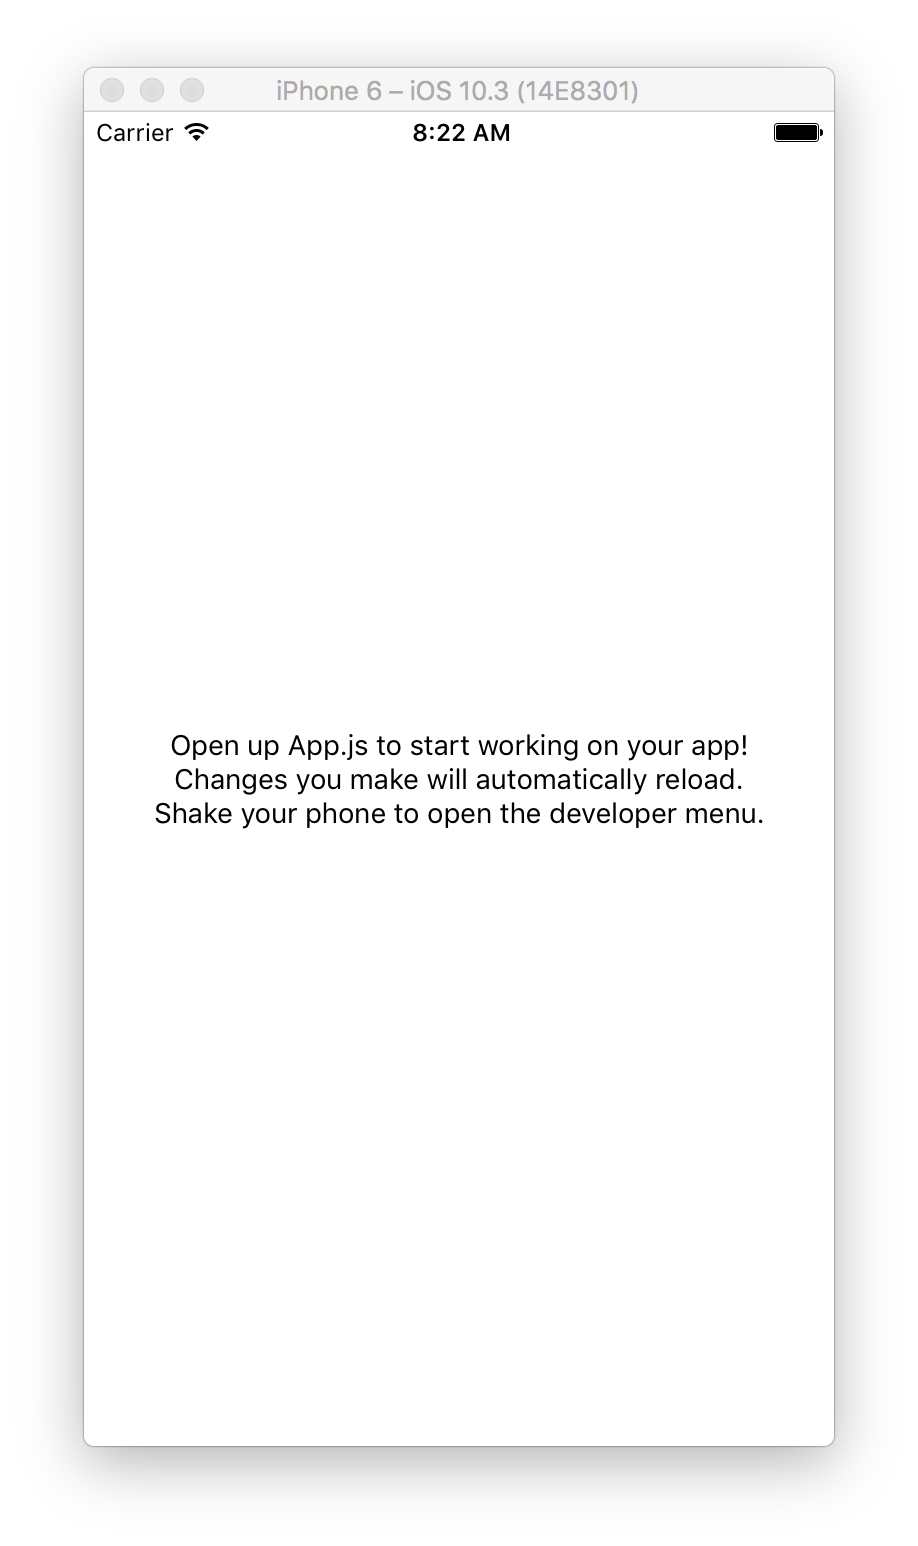
Once the packager is started, you should see this in the simulator.
Install Dependencies
Next, let’s install a few dependencies:
- react-navigation for navigation;
- react-native-vector-icons for icons;
- prop-types for type checking out component props.
To install these open Terminal App and execute:
npm i --save react-navigation react-native-vector-icons prop-types;
Components
- Create a new folder called
srcwithinbackedfolder. - Create a new folder called
componentswithinsrcfolder.
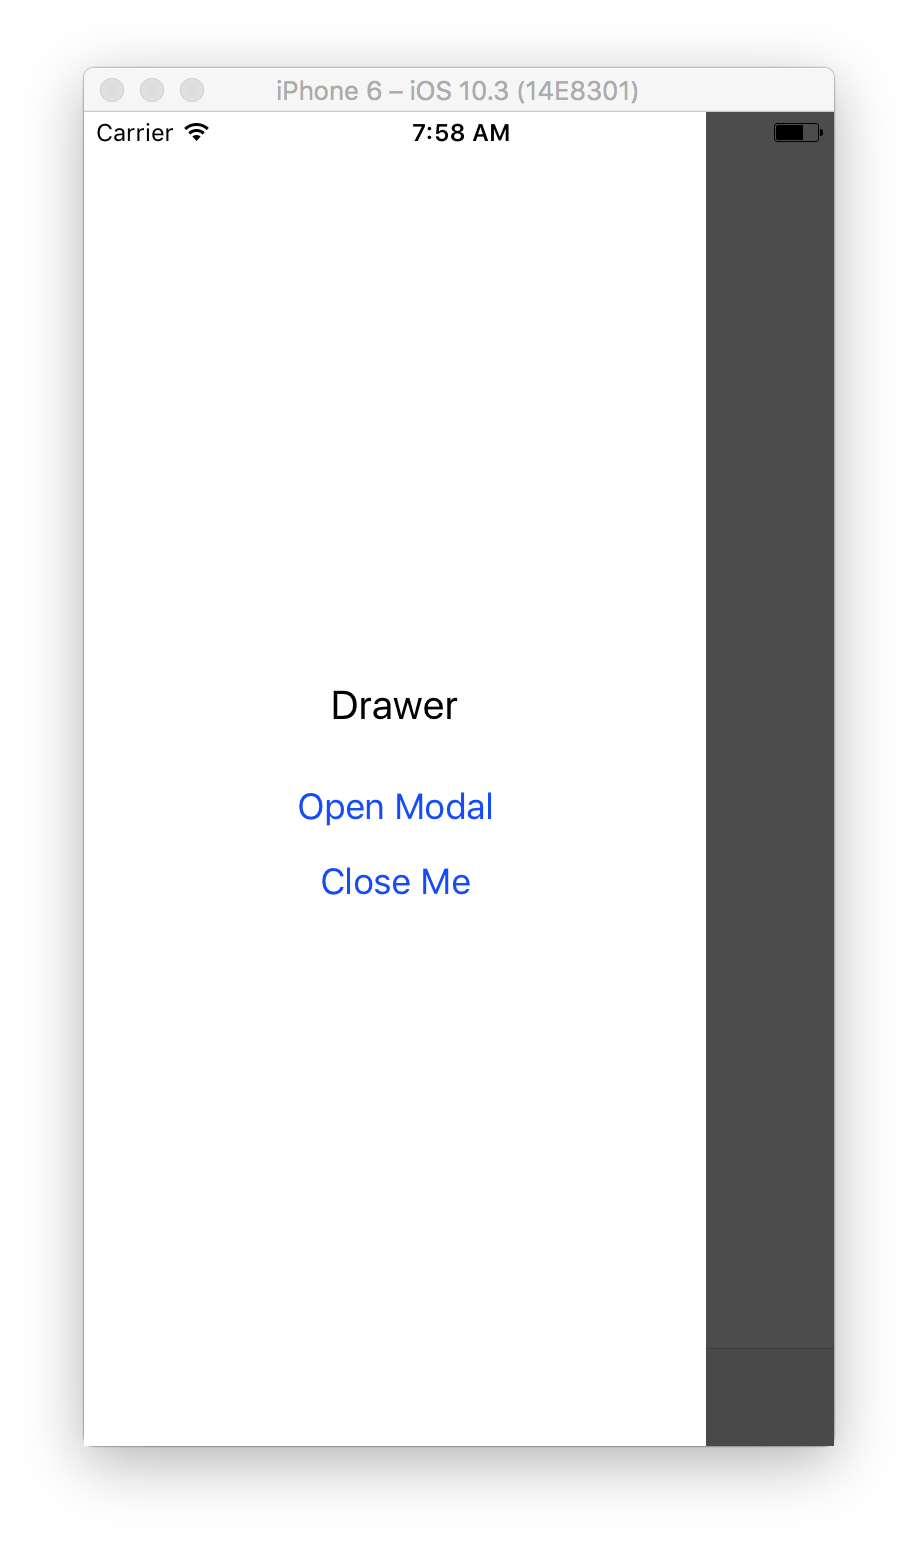
Drawer
This is the screen that shows up when you tap the menu button in the top left corner or swipe left from the left edge of the screen.
We’re going to have two buttons on it that call navigate function which is a part of react-navigation library.
- Open Modal. Calls
navigate('Modal')to navigate to a modal screen that we’ll add later. - Close me. Calls
navigate('DrawerClose')to close the drawer. It can also be closed by swiping left.
- Create a new file called
Drawer.jswithincomponentsfolder.
import React, { Component } from 'react';
import {
  Button,
  StyleSheet,
  Text,
  View
} from 'react-native';

export default class Drawer extends Component {

  render() {
    const { navigate } = this.props.navigation;
    return (
      <View style={styles.container}>
        <Text style={styles.header}>
          Drawer
        </Text>
        <Button
          onPress={() => navigate('Modal')}
          title="Open Modal"
        />
        <Button
          onPress={() => navigate('DrawerClose')}
          title="Close Me"
        />
      </View>
    );
  }

}

const styles = StyleSheet.create({
  container: {
    flex: 1,
    backgroundColor: '#FFF',
    alignItems: 'center',
    justifyContent: 'center',
  },
  header: {
    fontSize: 20,
    marginVertical: 20,
  },
});
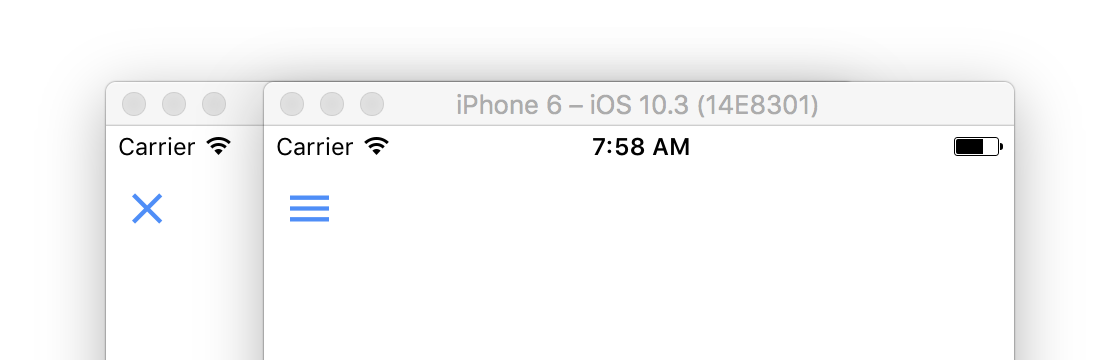
This component is for those little icon buttons in top left corners of the screens. It takes in two props. icon for customizing the icon and onPress for a function that gets called when the button is pressed.
- Create a new file called
HeaderButton.jswithincomponentsfolder.
import React, { Component } from 'react';
import PropTypes from 'prop-types';
import {
  StyleSheet,
  View
} from 'react-native';
import Icon from 'react-native-vector-icons/Ionicons';

export default class HeaderButton extends Component {

  static propTypes = {
    onPress: PropTypes.func.isRequired,
    icon: PropTypes.string.isRequired,
  };

  static defaultProps = {
    icon: 'md-menu',
  };

  render() {
    return (
      <View style={styles.container}>
        <Icon.Button
          name={this.props.icon}
          size={26}
          color="#4F8EF7"
          backgroundColor="#FFF"
          onPress={this.props.onPress}
        />
      </View>
    );
  }

}

const styles = StyleSheet.create({
  container: {
    // position absolutely in the top left corner
    ...StyleSheet.absoluteFillObject,
    top: 20,
    left: 5,
  },
});
Screens
- Create a new folder called
screenswithinsrcfolder.
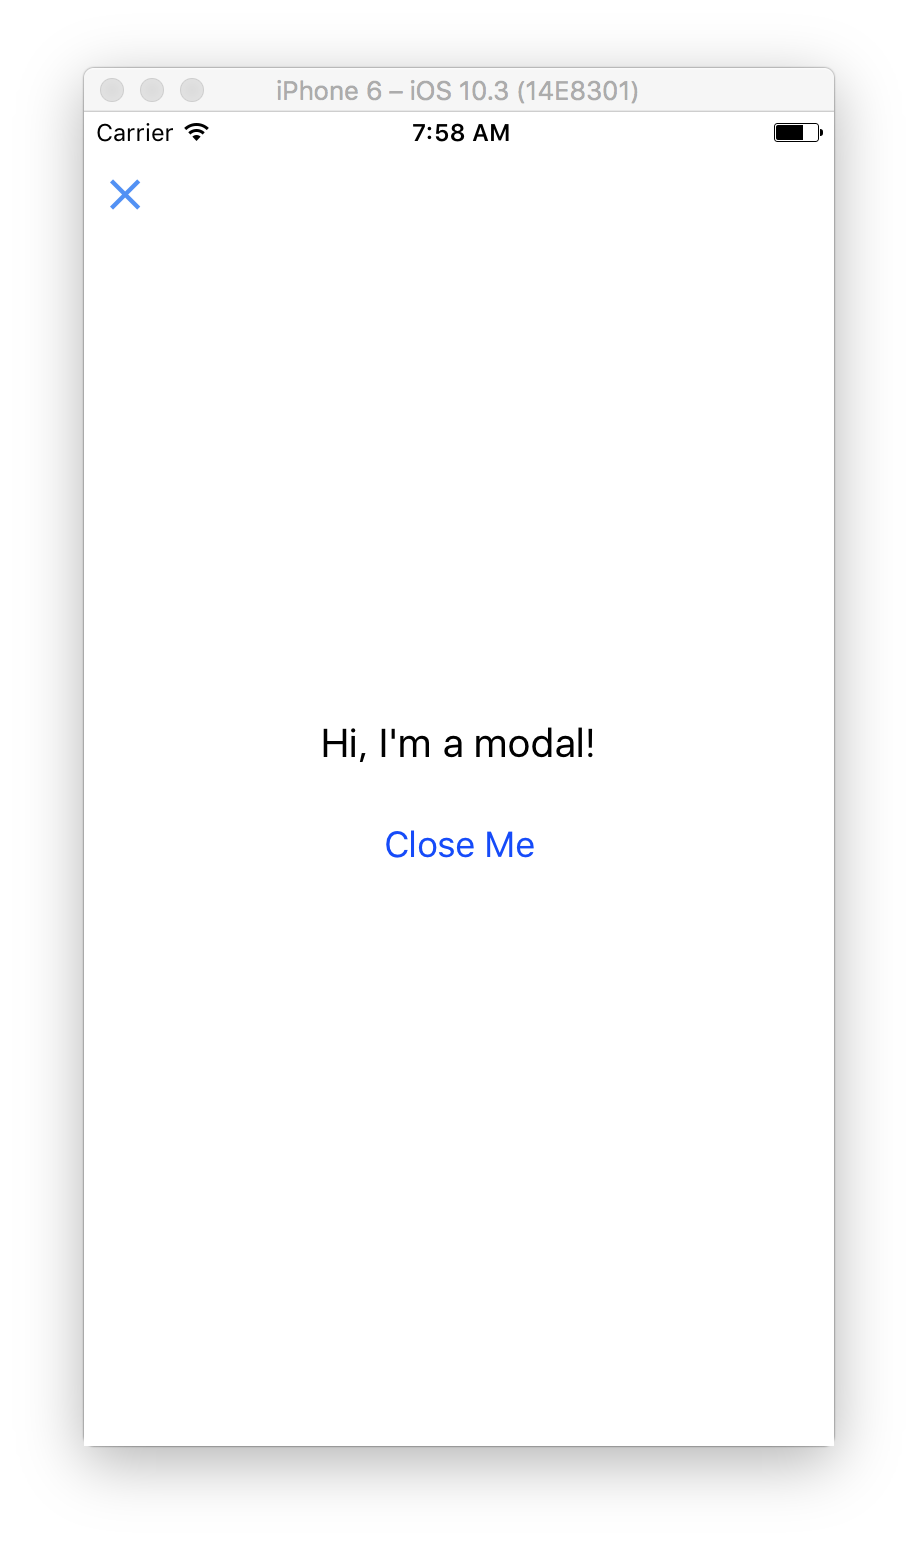
Modal
This is a modal screen that shows up above other screens and can be navigated to from any other screen. So you can call it from a tab screen, a stack screen or even a drawer.
It has one button that calls goBack() function which is a part of react-navigation library and navigates back to the previous screen.
- Create a new file called
Modal.jswithinscreensfolder.
import React, { Component } from 'react';
import {
  Button,
  StyleSheet,
  Text,
  View
} from 'react-native';
import HeaderButton from '../components/HeaderButton';

export default class Modal extends Component {

  render() {
    const { goBack } = this.props.navigation;
    return (
      <View style={styles.container}>
        <HeaderButton
          icon="md-close"
          onPress={() => goBack()}
        />
        <Text style={styles.header}>
          Hi, I'm a modal!
        </Text>
        <Button
          onPress={() => goBack()}
          title="Close Me"
        />
      </View>
    );
  }

}

const styles = StyleSheet.create({
  container: {
    flex: 1,
    backgroundColor: '#FFF',
    alignItems: 'center',
    justifyContent: 'center',
  },
  header: {
    fontSize: 20,
    marginVertical: 20,
  },
});
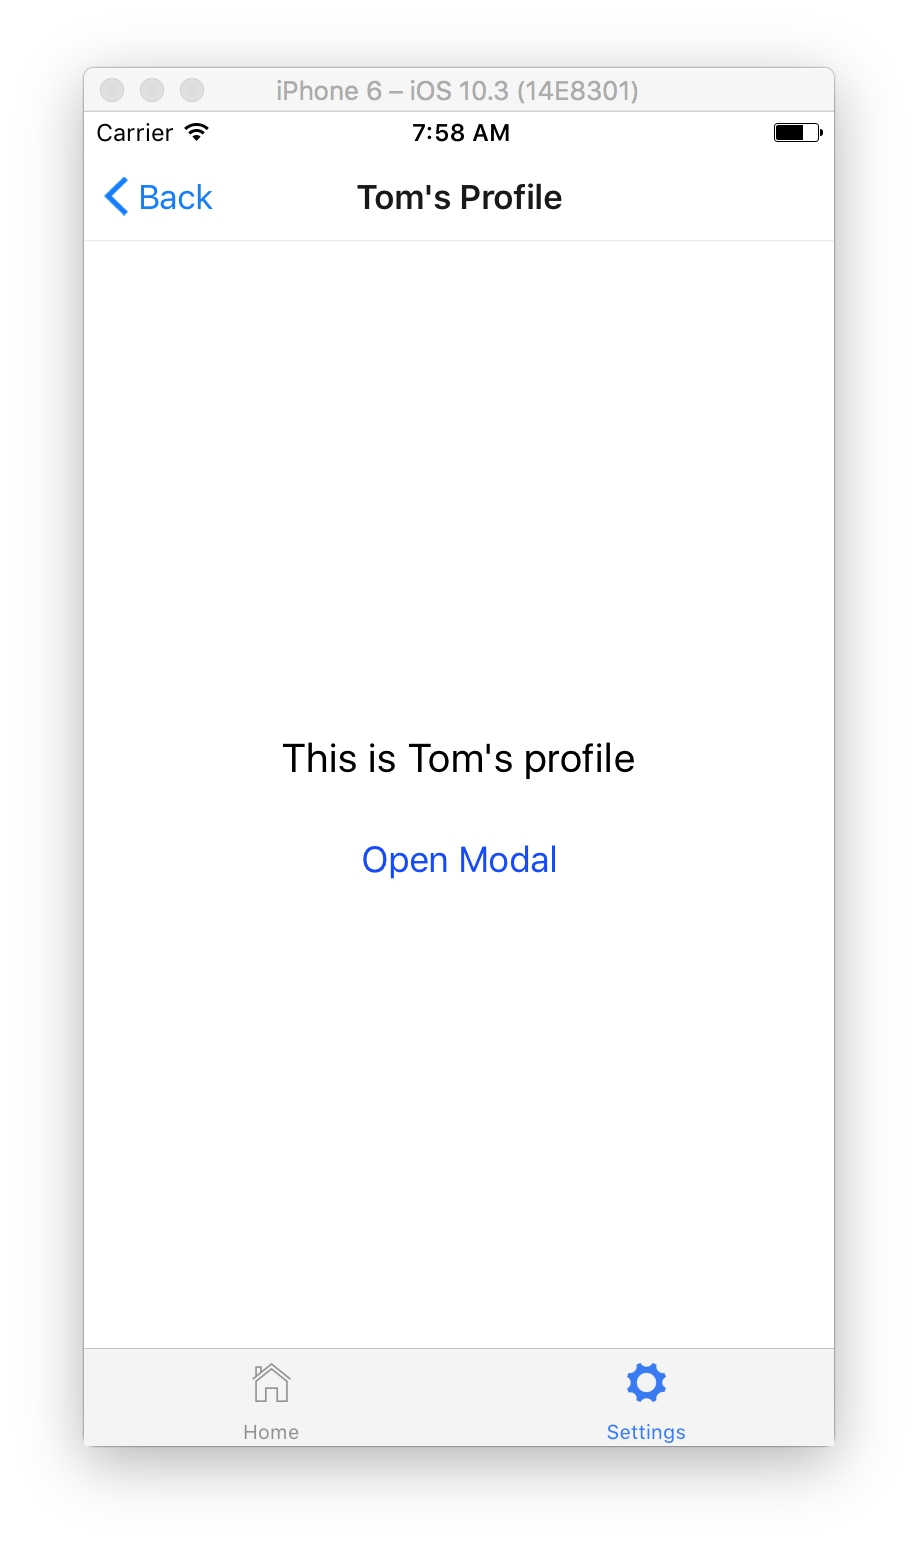
Profile
This is a stack screen that shows up inside Settings tab when you tap Open Profile button.
It customizes navigation header by using static navigationOptions object which is recognized by react-navigation library and can be used to customize the header’s title, colors, etc.
It also gets the user name passed to the screen. Whatever you pass to any screen is available via this.props.navigation.state.params object.
- Create a new file called
Profile.jswithinscreensfolder.
import React, { Component } from 'react';
import {
  Button,
  StyleSheet,
  Text,
  View
} from 'react-native';

export default class Profile extends Component {

  static navigationOptions = {
    // Customize header background color to make it look cleaner
    headerStyle: {
      backgroundColor: '#FFF',
    },
  };

  render() {
    // Pull navigate out of this.props.navigation
    // and params out of this.props.navigation.state
    const { navigate, state: { params } } = this.props.navigation;
    return (
      <View style={styles.container}>
        <Text style={styles.header}>
          This is {params.user}'s profile
        </Text>
        <Button
          onPress={() => navigate('Modal')}
          title="Open Modal"
        />
      </View>
    );
  }

}

const styles = StyleSheet.create({
  container: {
    flex: 1,
    backgroundColor: '#FFF',
    alignItems: 'center',
    justifyContent: 'center',
  },
  header: {
    fontSize: 20,
    marginVertical: 20,
  },
});
Tabs
- Create a new folder called
tabswithinsrcfolder.
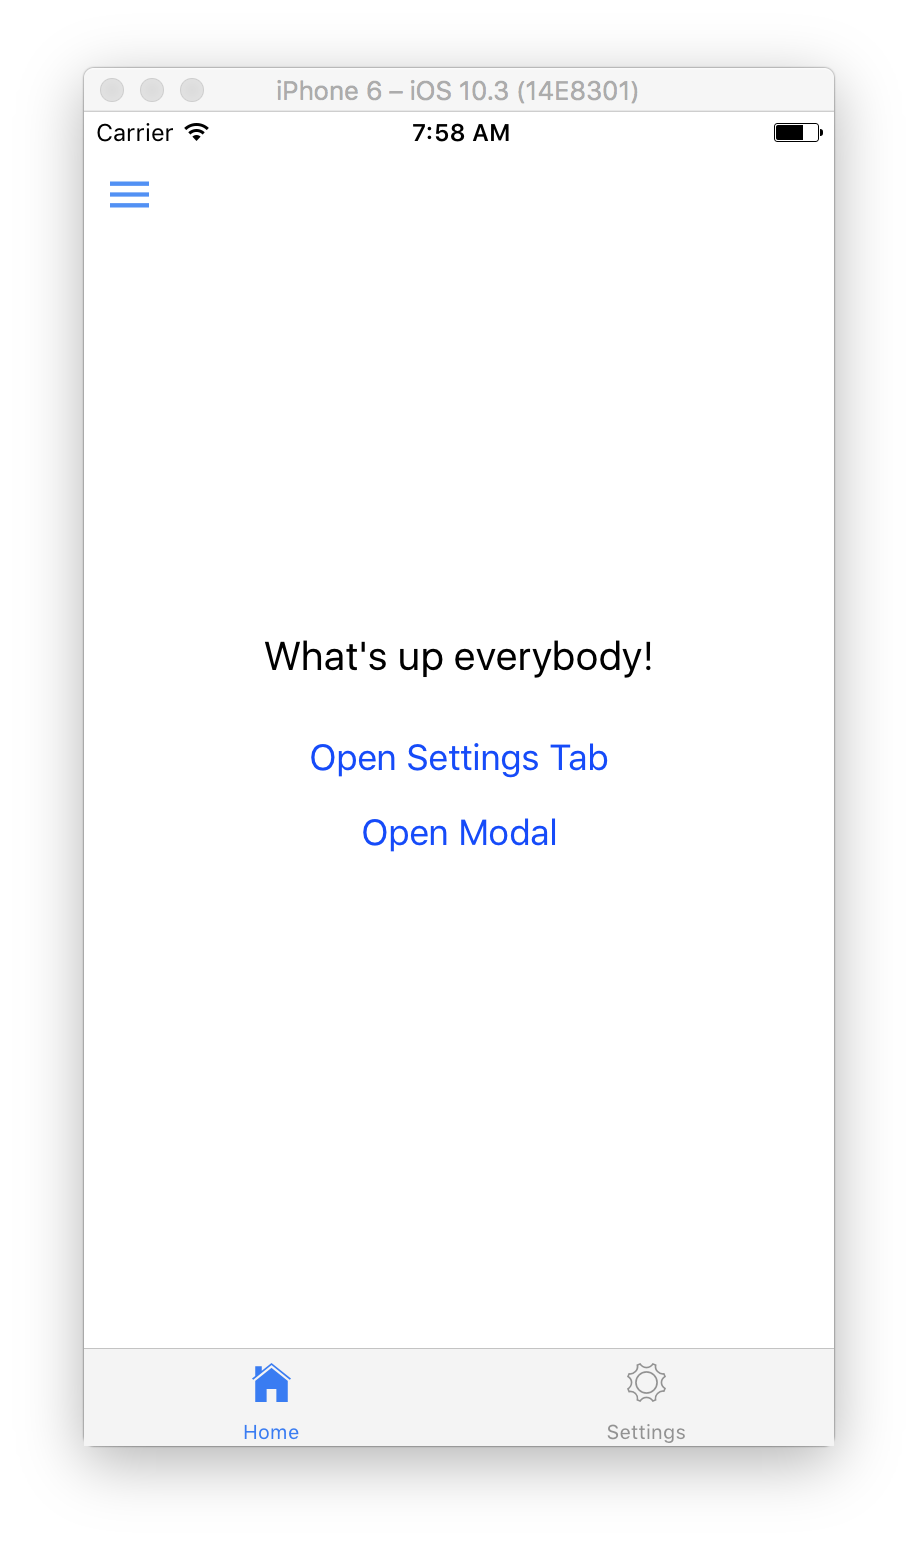
Home
This is the main screen that shows up in Home tab. It has two buttons. Open Settings Tab that navigates to the Settings tab and Open Modal that shows the Modal screen. It also uses HeaderButton component to show the icon button in the top left cornet that shows the drawer by calling navigate('DrawerOpen').
- Create a new file called
Home.jswithintabsfolder.
import React, { Component } from 'react';
import {
  Button,
  StyleSheet,
  Text,
  View
} from 'react-native';
import HeaderButton from '../components/HeaderButton';

export default class Home extends Component {

  render() {
    const { navigate } = this.props.navigation;
    return (
      <View style={styles.container}>
        <HeaderButton onPress={() => navigate('DrawerOpen')} />
        <Text style={styles.header}>
          What's up everybody!
        </Text>
        <Button
          onPress={() => navigate('Settings')}
          title="Open Settings Tab"
        />
        <Button
          onPress={() => navigate('Modal')}
          title="Open Modal"
        />
      </View>
    );
  }

}

const styles = StyleSheet.create({
  container: {
    flex: 1,
    backgroundColor: '#FFF',
    alignItems: 'center',
    justifyContent: 'center',
  },
  header: {
    fontSize: 20,
    marginVertical: 20,
  },
});
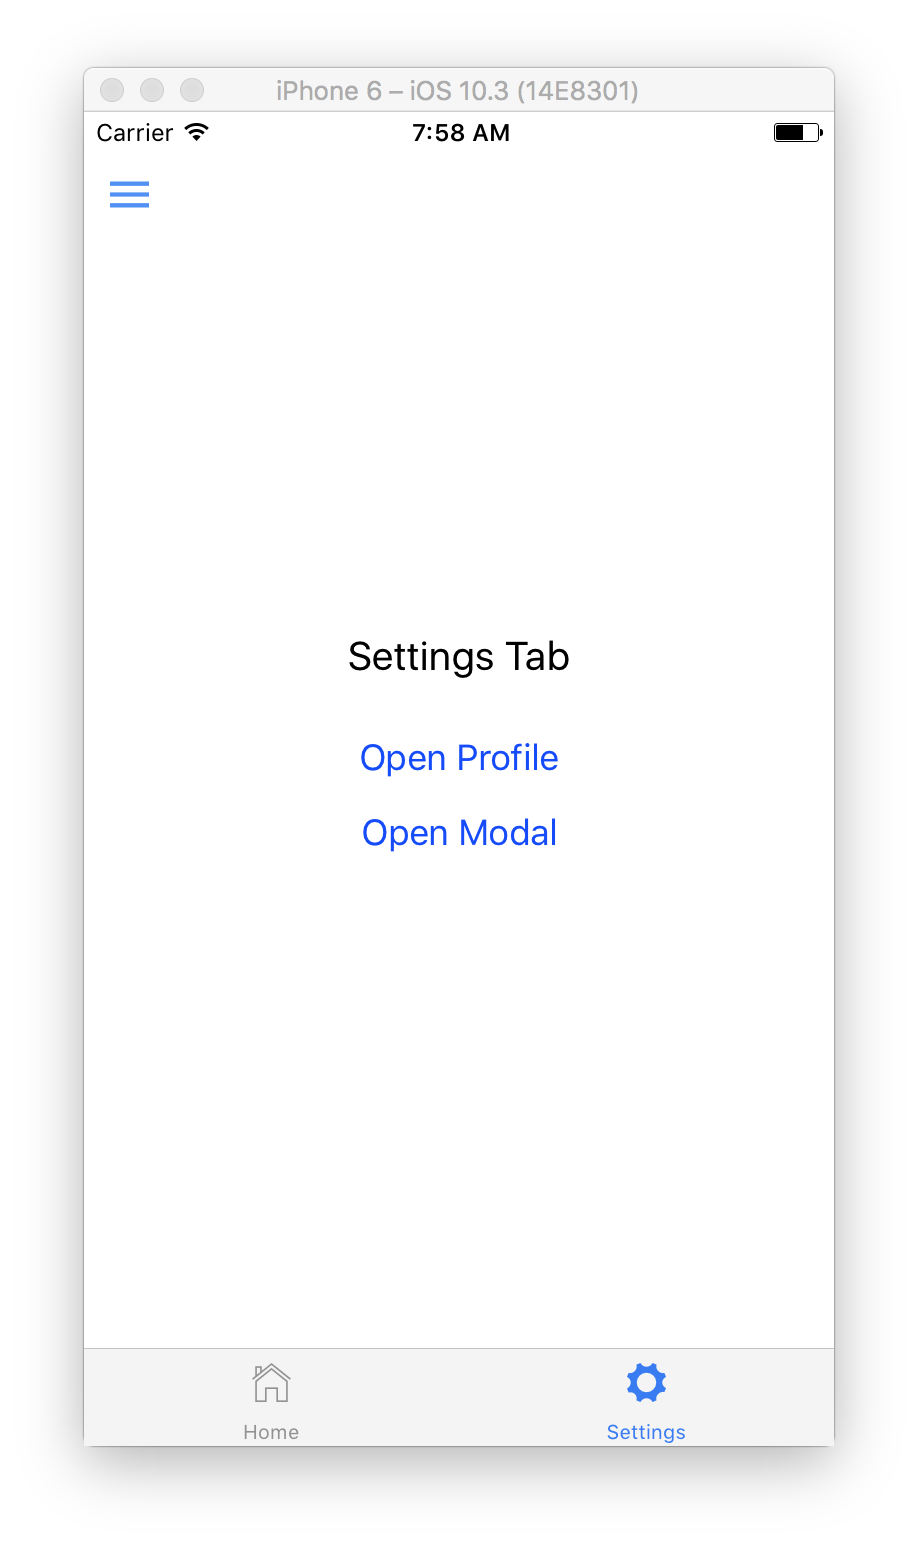
Settings
This is another tab screen that also shows two buttons. Open Profile that shows Profile screen and the same Open Modal button just to demonstrate that a modal can be called from any screen and when closes it navigates back to the screen that called it.
- Create a new file called
Settings.jswithintabsfolder.
import React, { Component } from 'react';
import {
  Button,
  StyleSheet,
  Text,
  View
} from 'react-native';
import HeaderButton from '../components/HeaderButton';

export default class Settings extends Component {

  render() {
    const { navigate } = this.props.navigation;
    return (
      <View style={styles.container}>
        <HeaderButton onPress={() => navigate('DrawerOpen')} />
        <Text style={styles.header}>
          Settings Tab
        </Text>
        <Button
          onPress={() => navigate('Profile', { user: 'Tom' })}
          title="Open Profile"
        />
        <Button
          onPress={() => navigate('Modal')}
          title="Open Modal"
        />
      </View>
    );
  }

}

const styles = StyleSheet.create({
  container: {
    flex: 1,
    backgroundColor: '#FFF',
    alignItems: 'center',
    justifyContent: 'center',
  },
  header: {
    fontSize: 20,
    marginVertical: 20,
  },
});
Putting it All Together
Finally, let’s put it all together in App.js file. There are four main steps:
- First, we stack together Settings and Profile screens using
StackNavigatorfrom react-navigation library. - Then, we put together Home and Settings tab screens using
TabNavigator. For Settings tab instead of just passing Settings screen itself, we’re passing stacked together Settings and Profile screens from the previous step as the SettingsTab object. - Next, we wrap our tabs from the previous step into
DrawerNavigatorto add drawer functionality to all those screens from the previous steps. - And finally, we use
StackNavigatorto stack together all screen wrapped intoDrawerNavigatorfrom the previous step and Modal screen. That means that we can call our Modal from any of the screens from the previous steps. But it doesn’t have a drawer because it’s not wrapped intoDrawerNavigator, which is what we want. We also setmodetomodalso when it shows up, it slides up from the bottom if the screen andheaderModetononeto hide the modal header.
import React from 'react';
import {
  DrawerNavigator,
  StackNavigator,
  TabNavigator
} from 'react-navigation';
import Icon from 'react-native-vector-icons/Ionicons';
import Home from './src/tabs/Home';
import Settings from './src/tabs/Settings';
import Profile from './src/screens/Profile';
import Modal from './src/screens/Modal';
import Drawer from './src/components/Drawer';

// Stack navigation for Settings and Profile screens
const SettingsTab = StackNavigator({
  Settings: {
    screen: Settings,
    navigationOptions: {
      header: null,               // Hide the header
      headerBackTitle: 'Back',    // Title back button Back when we navigate to Profile from Settings
    },
  },
  Profile: {
    screen: Profile,
    navigationOptions: ({ navigation }) => ({
      // Customize header's title with user name passed to navigate()
      // You can pass any props you'd like. For instance: navigate('Profile', { user: 'Tom' }
      title: `${navigation.state.params.user}'s Profile`,
    }),
  },
}, {
  headerMode: 'screen',
});

// Tab navigation for Home and Settings screens
const TabNavigation = TabNavigator({
  Home: {
    screen: Home,
    navigationOptions: {
      tabBarLabel: 'Home',
      tabBarIcon: ({ tintColor, focused }) => <Icon
        name={focused ? 'ios-home' : 'ios-home-outline'}
        size={26}
        style={{ color: tintColor }}
      />
    },
  },
  Settings: {
    screen: SettingsTab,
    navigationOptions: {
      tabBarLabel: 'Settings',
      tabBarIcon: ({ tintColor, focused }) => <Icon
        name={focused ? 'ios-settings' : 'ios-settings-outline'}
        size={26}
        style={{ color: tintColor }}
      />
    },
  },
});

// Wrap tab navigation into drawer navigation
const TabsWithDrawerNavigation = DrawerNavigator({
  Tabs: {
    screen: TabNavigation,
  }
}, {
  // Register custom drawer component
  contentComponent: props => <Drawer {...props} />
});

// And lastly stack together drawer with tabs and modal navigation
// because we want to be able to call Modal screen from any other screen
export default StackNavigator({
  TabsWithDrawer: {
    screen: TabsWithDrawerNavigation,
  },
  Modal: {
    screen: Modal
  },
}, {
  // In modal mode screen slides up from the bottom
  mode: 'modal',
  // No headers for modals. Otherwise we'd have two headers on the screen, one for stack, one for modal.
  headerMode: 'none',
});
That’s it
And we’re all done. Let’s bring the simulator back up and check out what we’ve built.
Wrapping up
Hopefully, you’ve learned a lot and will be able to use that knowledge when building your apps! Subscribe to get notified about new tutorials. And if you have any questions or ideas for new tutorials, just leave a comment below the post.