How often do you ditch mobile apps with an awful onboarding experience? You’re not alone. 70% of users stop using apps for the same reason. Bad UX and complex registration are among top 3 reasons why 90% of people stop using apps after first use. You don’t have to build your apps that way. Let me show you how to create a great onboarding experience in 30 minutes.
If you don’t have any experience with React Native check out 3 Steps to Build Your First Mobile App with React Native. It explains the basics and how to set up required software to get started.
Table of contents
What Are We Building
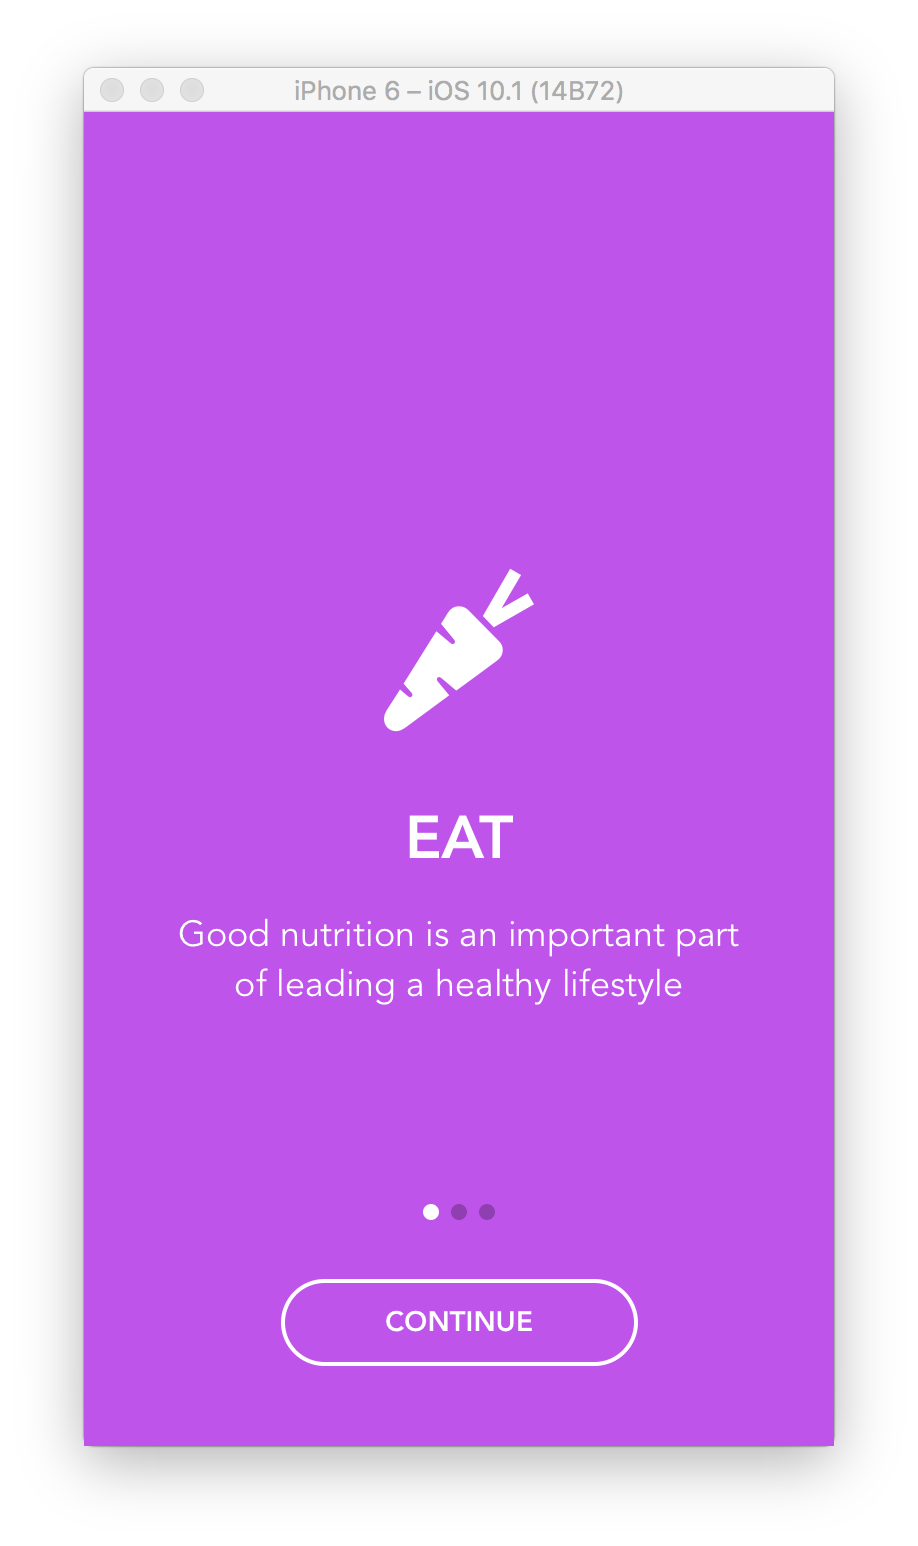
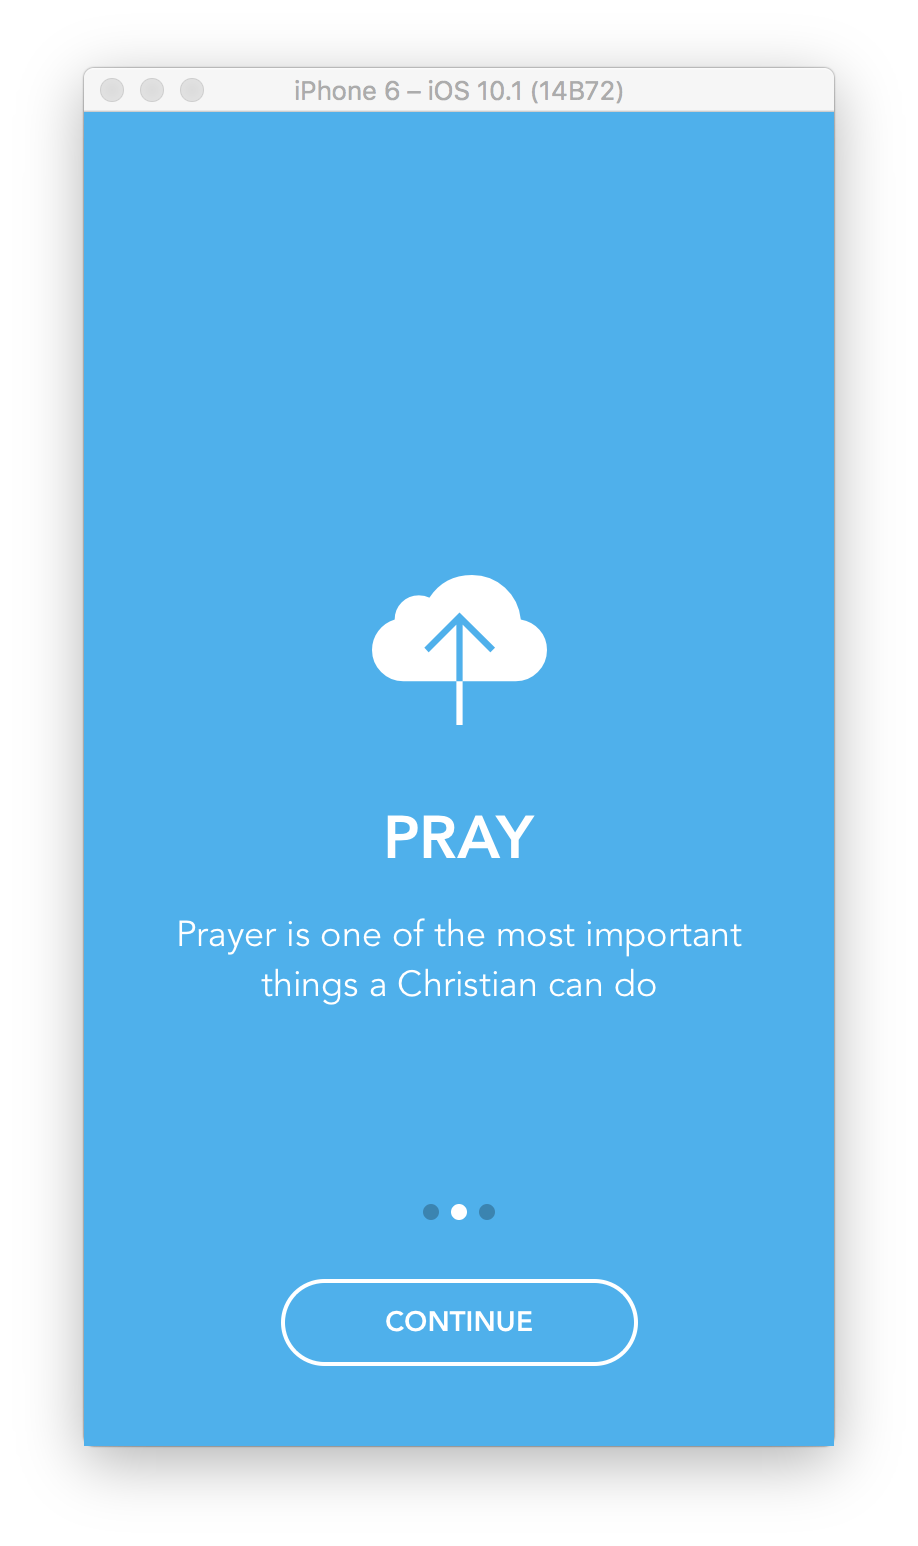
We’re going to build an app with onboarding flow that has three screens, pagination indicator to show what screen user’s on, and a button to continue to a next screen or to get out of the flow on the last screen. That’s what we want the app to look like.
Outlining the App Code Structure
It’s always a good idea to plan you app code structure in advance. Let’s list the files that we’re going to need to build all of the components for the app.
index.ios.jsorindex.android.js. Entry points into the app for iOS or Android platforms respectively. Both are going to render just oneScreenscomponent.Screens.js. A component that defines onboarding screens content and passes them intoOnboardingScreenscomponent to render those.Swiper.js. Renders onboarding screens content passed via props with pagination indicators and a button to swipe through screens usingButtoncomponent. That’s going to be our app’s core component, and also the biggest one.Button.js. Renders a button to swipe through screens.
Create a New App Project
Let’s start off by creating a new app. Open Terminal App and run the following commands to initialize a new project and launch it in the emulator:
react-native init Onboarding;
cd Onboarding;
react-native run-ios;
Enable Hot Reloading
Once your app is up and running, press ⌘D and select Enable Hot Reloading. This will save you some time having to reload the app manually every time you make a change.
Index Files
There are two main files that are being executed when you launch the app, depending on the platform you’re launching it on.
index.ios.js. Gets executed when the app is being launched on and iOS device.index.android.js. Gets executed when the app is being launched on an Android device.
We’re going to re-use the same code for both, iOS and Android. So, open index.ios.js file and scrap all of the React Native boilerplate code to start from scratch. Do the same for index.android.js. And add to both of them the same code as follows.
import React, { Component } from 'react';
import {
  AppRegistry,    // Registers the app
  StatusBar,      // Allows to hide the satatus bar
} from 'react-native';
import Screens from './Screens';

export default class Onboarding extends Component {
  componentDidMount() {
    // Hide the status bar
    StatusBar.setHidden(true);
  }
  render() {
    return (
      <Screens />
    );
  }
}

AppRegistry.registerComponent('Onboarding', () => Onboarding);
We’re using componentDidMount lifecycle hook, which runs after the component has been mounted, to hide the status bar.
And render() method just returns Screens component, which doesn’t exist yet. So, if you save the file and look at the emulator, you’ll see an error.
Screens Component
Go ahead and create a new file called Screens.js. Let’s start off with one screen first. Then we’ll build Swiper component to handle multiple screens and get back to add more screens.
import React, { Component } from 'react';
import {
  StyleSheet,   // CSS-like styles
  Text,         // Renders text
  View          // Container component
} from 'react-native';

export default class Screens extends Component {
  render() {
    return (
      <View style={[styles.slide, { backgroundColor: '#C04DEE' }]}>
        <Text style={styles.header}>EAT</Text>
        <Text style={styles.text}>Good nutrition is an important part of leading a healthy lifestyle</Text>
      </View>
    );
  }
}

const styles = StyleSheet.create({
  // Slide styles
  slide: {
    flex: 1,                    // Take up all screen
    justifyContent: 'center',   // Center vertically
    alignItems: 'center',       // Center horizontally
  },
  // Header styles
  header: {
    color: '#FFFFFF',
    fontFamily: 'Avenir',
    fontSize: 30,
    fontWeight: 'bold',
    marginVertical: 15,
  },
  // Text below header
  text: {
    color: '#FFFFFF',
    fontFamily: 'Avenir',
    fontSize: 18,
    marginHorizontal: 40,
    textAlign: 'center',
  },
});
Notice how in this JSX code <View style={[styles.slide, { backgroundColor: '#C04DEE' }]}> we merged styles passed from styles.slide and an inline object with backgroundColor style.
Because the only one difference between slides in terms of styles is a background color, we can just embed it in <View> instead of having it referenced to a declaration of it in styles object.
You can read Style React Native Components post to learn more on styling React Native components.
Save the file and go to the emulator. Press ⌘R or RR, in case you’re running an Android emulator, to reload the app because that error broke hot reloading earlier and you have to reload it manually.
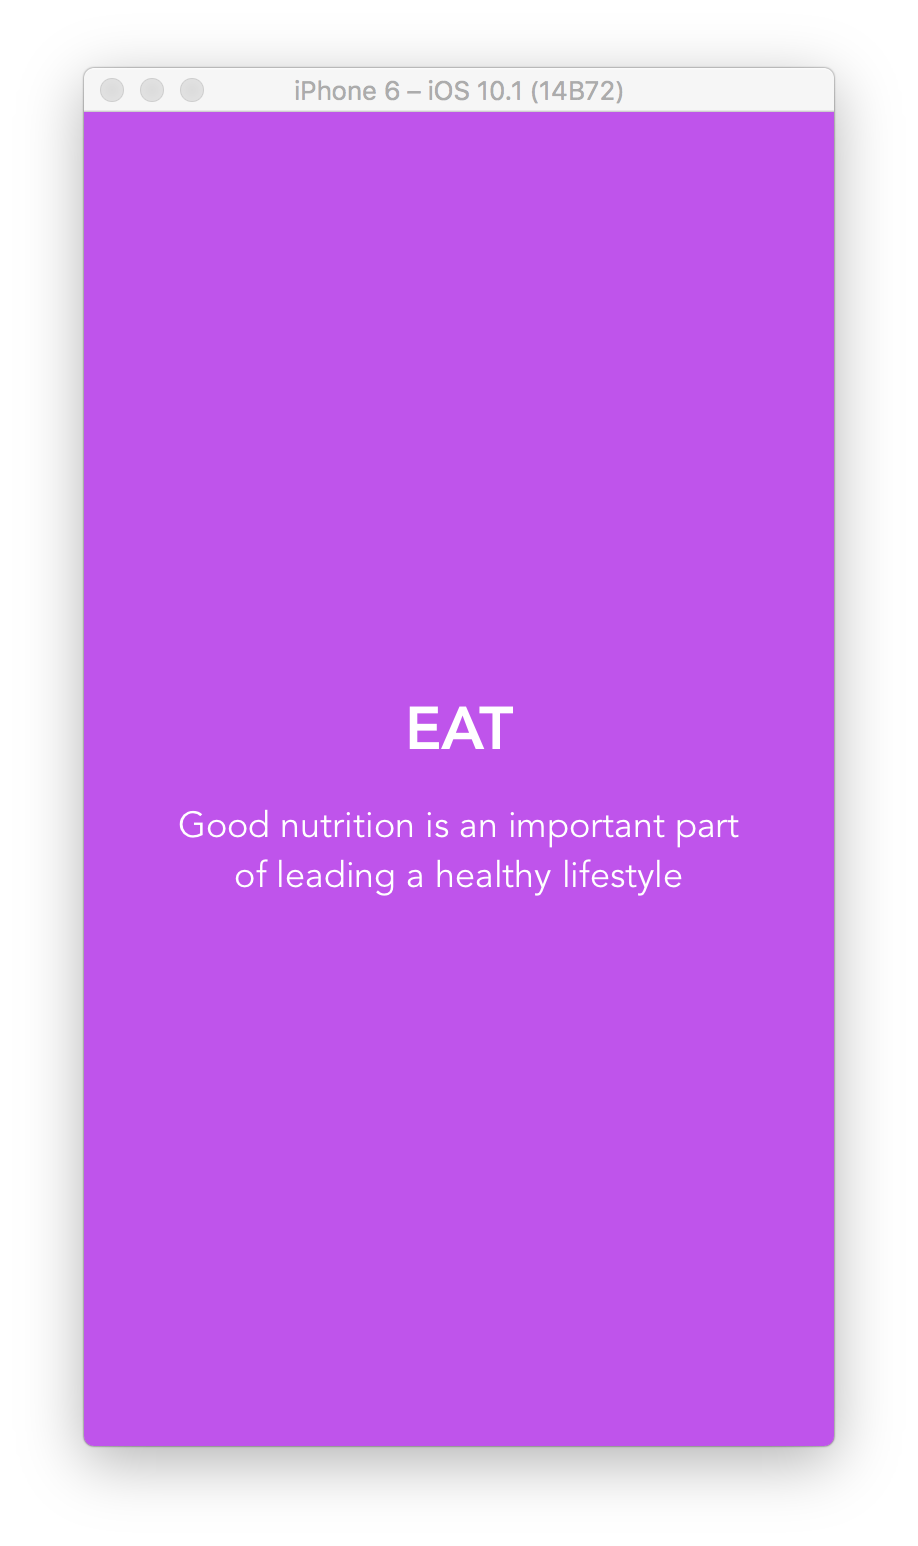
Look great, but it’s missing an icon above the header.
Installing Vector Icons
We’re going to use this package react-native-vector-icons for icons. It has multiple icon sets, including FontAwesome and Ionicons.
To install it run the following in terminal first:
npm install react-native-vector-icons --save
And to bundle icons with your project:
react-native link
Then you’re going to bneed to restart the app. Bring up the emulator and press ⌘Q to exit out of emulator. Then do the same with React Packager terminal window, which looks like this.
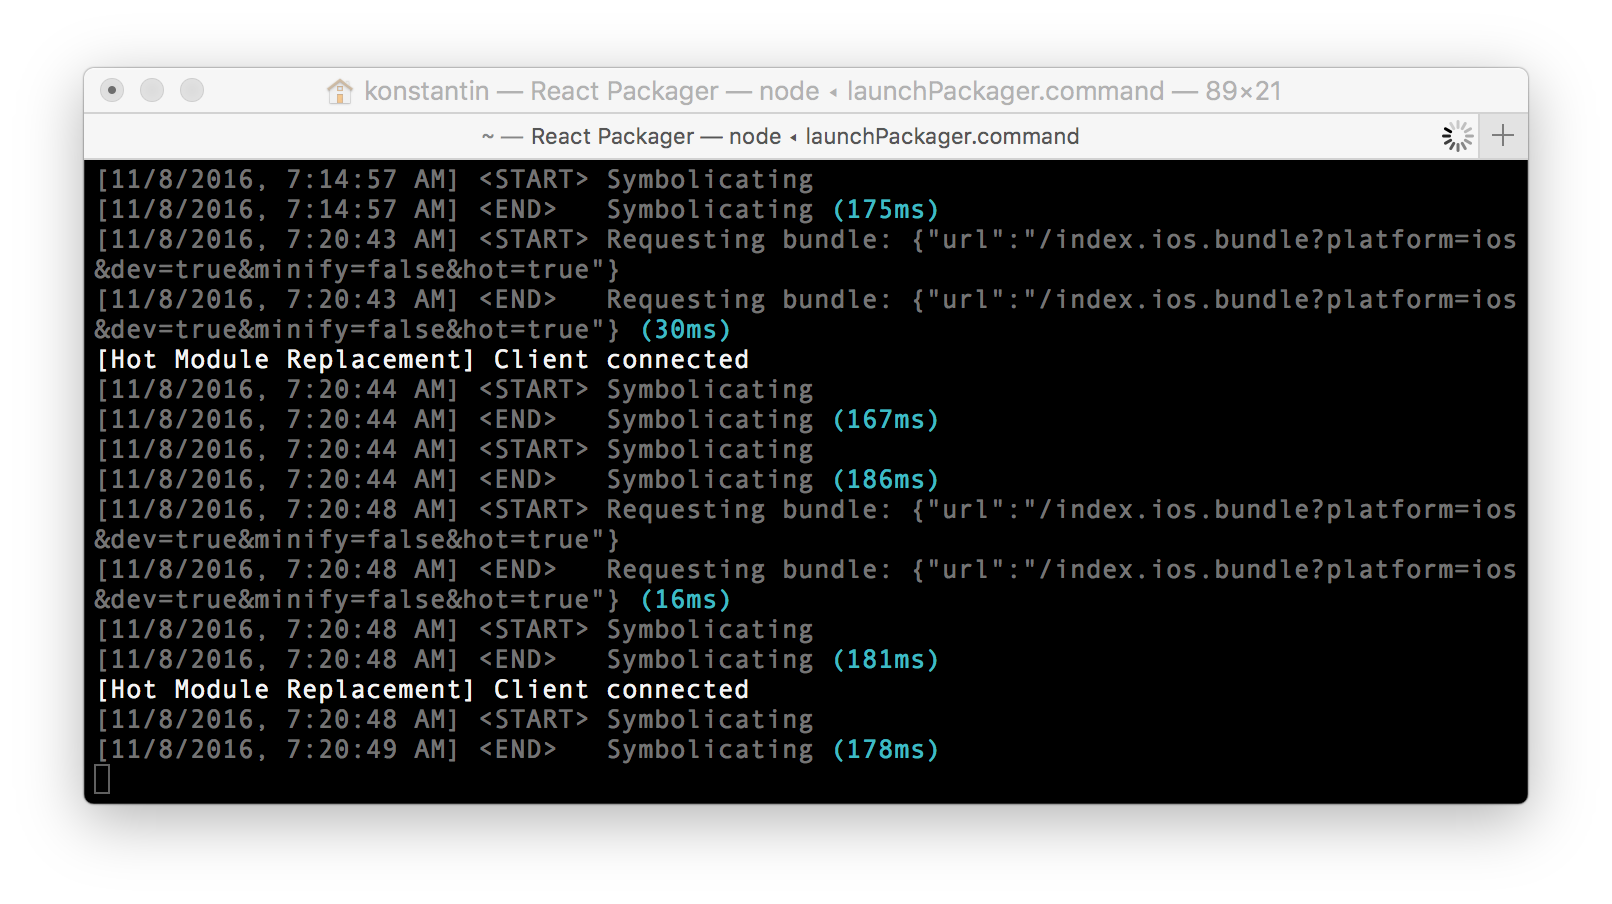
And then execute the following to restart React Packager and the emulator:
react-native run-ios;
Adding an Icon
Let’s import Icon components first.
import Icon from 'react-native-vector-icons/Ionicons';Then add some icon styles. We’re going to re-use the same styles for all 3 icons across all screen, so let’s define an object before styles declaration as follows:
const iconStyles = {
  size: 100,
  color: '#FFFFFF',
};

const styles = StyleSheet.create({
  ...
You might be wondering why didn’t we include these into styles object. That’s because these are not styles supported by StyleSheet components, but just props supported by Icon component from react-native-vector-icons package.
And then, let’s add <Icon name="ios-nutrition" {...iconStyles} /> above the header:
<View style={[styles.slide, { backgroundColor: '#C04DEE' }]}>
  <Icon name="ios-nutrition" {...iconStyles} /> // Add this
  <Text style={styles.header}>EAT</Text>
  <Text style={styles.text}>Good nutrition is an important part of leading a healthy lifestyle</Text>
</View>
Take a look at <Icon name="ios-nutrition" {...iconStyles} />. This ... is called spread operator. It can be used to copy properties of one object into another one. In our case it essentially converts this:
<Icon name="ios-nutrition" {...iconStyles} />
Into this:
<Icon name="ios-nutrition" size={100} color='#FFFFFF' />
Ok. Let’s check our app out in the emulator.

It looks like we’re done with the first screen. Let’s move on to Button and Swiper components.
Before we start with Swiper, let’s create Button component first. Go ahead and create a new file called Button.js.
/**
 * Button component
 * Renders a button and calls a function passed via onPress prop once tapped
 */

import React, { Component } from 'react';
import {
  StyleSheet,       // CSS-like styles
  Text,             // Renders text
  TouchableOpacity, // Pressable container
  View              // Container component
} from 'react-native';

export default class Button extends Component {
  render({ onPress } = this.props) {
    return (
      <TouchableOpacity onPress={onPress}>
        <View style={styles.button}>
          <Text style={styles.text}>{this.props.text.toUpperCase()}</Text>
        </View>
      </TouchableOpacity>
    );
  }
}

const styles = StyleSheet.create({
  // Button container
  button: {
    borderRadius: 50,         // Rounded border
    borderWidth: 2,           // 2 point border widht
    borderColor: '#FFFFFF',   // White colored border
    paddingHorizontal: 50,    // Horizontal padding
    paddingVertical: 10,      // Vertical padding
  },
  // Button text
  text: {
    color: '#FFFFFF',
    fontWeight: 'bold',
    fontFamily: 'Avenir',
  },
});
It’s a pretty straightforward component. It wraps button View container and Text inside TouchableOpacity to make it tappable.
Let’s test it out. Open Screens.js. Add import statement first:
import Button from './Button';
And add <Button text="Test" /> below the text:
<View style={[styles.slide, { backgroundColor: '#C04DEE' }]}>
  <Icon name="ios-nutrition" {...iconStyles} />
  <Text style={styles.header}>EAT</Text>
  <Text style={styles.text}>Good nutrition is an important part of leading a healthy lifestyle</Text>
  <Button text="Test" /> // Add me
</View>
Save the file and bring up the emulator.

It looks like Button component works. So, let’s move on to Swiper component.
Swiper Component
Go ahead and create a new file called Swiper.js.
Importing Components
Let’s start off by importing all of the components that we’re going to use.
/**
 * Swiper
 * Renders a swipable set of screens passed as children,
 * pagination indicators and a button to swipe through screens
 * or to get out of the flow when the last screen is reached
 */

import React, { Component } from 'react';
import {
  Dimensions,       // Detects screen dimensions
  Platform,         // Detects platform running the app
  ScrollView,       // Handles navigation between screens
  StyleSheet,       // CSS-like styles
  View,             // Container component
} from 'react-native';
import Button from './Button';

// Detect screen width and height
const { width, height } = Dimensions.get('window');
Defining the Class
Next, let’s build the class for the component.
export default class OnboardingScreens extends Component {

  // Props for ScrollView component
  static defaultProps = {
    // Arrange screens horizontally
    horizontal: true,
    // Scroll exactly to the next screen, instead of continous scrolling
    pagingEnabled: true,
    // Hide all scroll indicators
    showsHorizontalScrollIndicator: false,
    showsVerticalScrollIndicator: false,
    // Do not bounce when the end is reached
    bounces: false,
    // Do not scroll to top when the status bar is tapped
    scrollsToTop: false,
    // Remove offscreen child views
    removeClippedSubviews: true,
    // Do not adjust content behind nav-, tab- or toolbars automatically
    automaticallyAdjustContentInsets: false,
    // Fisrt is screen is active
    index: 0
  };

  state = this.initState(this.props);

  /**
   * Initialize the state
   */
  initState(props) {

    // Get the total number of slides passed as children
    const total = props.children ? props.children.length || 1 : 0,
      // Current index
      index = total > 1 ? Math.min(props.index, total - 1) : 0,
      // Current offset
      offset = width * index;

    const state = {
      total,
      index,
      offset,
      width,
      height,
    };

    // Component internals as a class property,
    // and not state to avoid component re-renders when updated
    this.internals = {
      isScrolling: false,
      offset
    };

    return state;
  }

  /**
   * Scroll begin handler
   * @param {object} e native event
   */
  onScrollBegin = e => {
    // Update internal isScrolling state
    this.internals.isScrolling = true;
  }

  /**
   * Scroll end handler
   * @param {object} e native event
   */
  onScrollEnd = e => {
    // Update internal isScrolling state
    this.internals.isScrolling = false;

    // Update index
    this.updateIndex(e.nativeEvent.contentOffset
      ? e.nativeEvent.contentOffset.x
      // When scrolled with .scrollTo() on Android there is no contentOffset
      : e.nativeEvent.position * this.state.width
    );
  }

  /*
   * Drag end handler
   * @param {object} e native event
   */
  onScrollEndDrag = e => {
    const { contentOffset: { x: newOffset } } = e.nativeEvent,
      { children } = this.props,
      { index } = this.state,
      { offset } = this.internals;

    // Update internal isScrolling state
    // if swiped right on the last slide
    // or left on the first one
    if (offset === newOffset &&
      (index === 0 || index === children.length - 1)) {
      this.internals.isScrolling = false;
    }
  }

  /**
   * Update index after scroll
   * @param {object} offset content offset
   */
  updateIndex = (offset) => {
    const state = this.state,
      diff = offset - this.internals.offset,
      step = state.width;
    let index = state.index;

    // Do nothing if offset didn't change
    if (!diff) {
      return;
    }

    // Make sure index is always an integer
    index = parseInt(index + Math.round(diff / step), 10);

    // Update internal offset
    this.internals.offset = offset;
    // Update index in the state
    this.setState({
      index
    });
  }

  /**
   * Swipe one slide forward
   */
  swipe = () => {
    // Ignore if already scrolling or if there is less than 2 slides
    if (this.internals.isScrolling || this.state.total < 2) {
      return;
    }

    const state = this.state,
      diff = this.state.index + 1,
      x = diff * state.width,
      y = 0;

    // Call scrollTo on scrollView component to perform the swipe
    this.scrollView && this.scrollView.scrollTo({ x, y, animated: true });

    // Update internal scroll state
    this.internals.isScrolling = true;

    // Trigger onScrollEnd manually on android
    if (Platform.OS === 'android') {
      setImmediate(() => {
        this.onScrollEnd({
          nativeEvent: {
            position: diff
          }
        });
      });
    }
  }

  /**
   * Render ScrollView component
   * @param {array} slides to swipe through
   */
  renderScrollView = pages => {
    return (
      <ScrollView ref={component => { this.scrollView = component; }}
        {...this.props}
        contentContainerStyle={[styles.wrapper, this.props.style]}
        onScrollBeginDrag={this.onScrollBegin}
        onMomentumScrollEnd={this.onScrollEnd}
        onScrollEndDrag={this.onScrollEndDrag}
      >
        {pages.map((page, i) =>
          // Render each slide inside a View
          <View style={[styles.fullScreen, styles.slide]} key={i}>
            {page}
          </View>
        )}
      </ScrollView>
    );
  }

  /**
   * Render pagination indicators
   */
  renderPagination = () => {
    if (this.state.total <= 1) {
      return null;
    }

    const ActiveDot = <View style={[styles.dot, styles.activeDot]} />,
      Dot = <View style={styles.dot} />;

    let dots = [];

    for (let key = 0; key < this.state.total; key++) {
      dots.push(key === this.state.index
        // Active dot
        ? React.cloneElement(ActiveDot, { key })
        // Other dots
        : React.cloneElement(Dot, { key })
      );
    }

    return (
      <View
        pointerEvents="none"
        style={[styles.pagination, styles.fullScreen]}
      >
        {dots}
      </View>
    );
  }

  /**
   * Render Continue or Done button
   */
  renderButton = () => {
    const lastScreen = this.state.index === this.state.total - 1;
    return (
      <View pointerEvents="box-none" style={[styles.buttonWrapper, styles.fullScreen]}>
        {lastScreen
          // Show this button on the last screen
          // TODO: Add a handler that would send a user to your app after onboarding is complete
          ? <Button text="Start Now" onPress={() => console.log('Send me to the app')} />
          // Or this one otherwise
          : <Button text="Continue" onPress={() => this.swipe()} />
        }
      </View>
    );
  }

  /**
   * Render the component
   */
  render = ({ children } = this.props) => {
    return (
      <View style={[styles.container, styles.fullScreen]}>
        {/* Render screens */}
        {this.renderScrollView(children)}
        {/* Render pagination */}
        {this.renderPagination()}
        {/* Render Continue or Done button */}
        {this.renderButton()}
      </View>
    );
  }
}
It shouldn’t be hard to understand how that component works by reading the comments. There is also a to-do note next to Start Now button, reminding you to add a handler for when a user completes onboarding flow. You might want to send them to your app dashboard or something else if you were to use this code for an existing app.
Defining Styles
And lastly, let’s define the styles.
const styles = StyleSheet.create({
  // Set width and height to the screen size
  fullScreen: {
    width: width,
    height: height
  },
  // Main container
  container: {
    backgroundColor: 'transparent',
    position: 'relative'
  },
  // Slide
  slide: {
    backgroundColor: 'transparent'
  },
  // Pagination indicators
  pagination: {
    position: 'absolute',
    bottom: 110,
    left: 0,
    right: 0,
    flex: 1,
    flexDirection: 'row',
    justifyContent: 'center',
    alignItems: 'flex-end',
    backgroundColor: 'transparent'
  },
  // Pagination dot
  dot: {
    backgroundColor: 'rgba(0,0,0,.25)',
    width: 8,
    height: 8,
    borderRadius: 4,
    marginLeft: 3,
    marginRight: 3,
    marginTop: 3,
    marginBottom: 3
  },
  // Active dot
  activeDot: {
    backgroundColor: '#FFFFFF',
  },
  // Button wrapper
  buttonWrapper: {
    backgroundColor: 'transparent',
    flexDirection: 'column',
    position: 'absolute',
    bottom: 0,
    left: 0,
    flex: 1,
    paddingHorizontal: 10,
    paddingVertical: 40,
    justifyContent: 'flex-end',
    alignItems: 'center'
  },
});
Update Screens Component to Use Swiper
Let’s go back to Screens.js and update it. First, add Swiper component import statement:
import Swiper from './Swiper';
Then, update render() to add more screens and wrap them into <Swiper> component as follows:
render() {
  return (
    <Swiper>
      {/* First screen */}
      <View style={[styles.slide, { backgroundColor: '#C04DEE' }]}>
        <Icon name="ios-nutrition" {...iconStyles} />
        <Text style={styles.header}>EAT</Text>
        <Text style={styles.text}>Good nutrition is an important part of leading a healthy lifestyle</Text>
      </View>
      {/* Second screen */}
      <View style={[styles.slide, { backgroundColor: '#4AAFEE' }]}>
        <Icon name="ios-cloud-upload" {...iconStyles} />
        <Text style={styles.header}>PRAY</Text>
        <Text style={styles.text}>Prayer is one of the most important things a Christian can do</Text>
      </View>
      {/* Third screen */}
      <View style={[styles.slide, { backgroundColor: '#FC515B' }]}>
        <Icon name="ios-heart" {...iconStyles} />
        <Text style={styles.header}>LOVE</Text>
        <Text style={styles.text}>Where there is love there is life</Text>
      </View>
    </Swiper>
  );
}
You can also remove Button component import statement.
Save the file and bring up the emulator. And there you go. There are three slides you can swipe or tap through with Continue button.

Source Code
You can get the source code of the app using git. Just run in terminal:
To download the code execute in terminal:
git clone https://github.com/rationalappdev/onboarding.git && cd onboarding;
To install React Native along with all required modules and launch the app execute:
npm install;
react-native run-ios;
What’s Next
Now you know how to build an on boarding flow for your app. And you’re not limited to screens with some copy, icons or images. You can also have instructions on how to use your app, input fields, and some other sorts of customization controls. There are various ways of doing onboarding. It’d be a good idea to look at the apps with great onboarding to see what they do and find out what would work the best for your app.