Table of contents
What are Props?
Props are used to customize React Native components, both core, and your own components. You can use the same component in different parts of your app with different props to customize how would they look or behave.
Real Life Analogy
Imagine if a brick was a React Native component. And it had a few props, such as color and size. So, we could reuse the same <Brick> component with different props to produce different bricks of various sizes and colors. For example, <Brick size="large" color="red" /> would give us a large red brick.
Why Props are Great
You can access passed props through this.props inside component’s render method. And if props get changed after a component was rendered, the component gets re-rendered with new props. It allows you to have simple components that just render some data and aren’t aware of where the data is coming from, how it should be processed and don’t react on user’s input. That’s really great because it allows you to keep your app’s code super neat and simple.
Passing Props to Component
Let’s say we had a component called Clock and we wanted to render it and pass current time to it as time prop. To do so we would need to use JSX notation <Clock time="12:59" />, where time is a prop name and 12:59 wrapped in doubled quotes is a value. You can also use any JavaScript expression wrapped in curly brackets {} instead of double quotes as a prop value. For instance, time={'12' + ':' + '59'}.
  render() {
    return (
      <View style={styles.container}>
        <Clock time="12:59" />
      </View>
    );
  }
Accessing Passed Props Inside Component
And then, inside render method of Clock component we would use this.props.time to access time prop value passed from the parent component.
  render() {
    return (
      <Text>{this.props.time}</Text>
    );
  }
Example App
Let’s build an example app that will show what time it is. And to illustrate how props work let’s create a simple component that will render a number of hours, minutes and second. And then set up a timer to run every second and update time.
Create a New Project
Open Terminal App and run following commands to create a new app project and launch it in an emulator.
react-native init LearnignProps;
cd LearnignProps;
react-native run-ios;
Clock Component
Let’s start off by creating a component that will be showing the current time. It doesn’t do anything, but outputs this.props.time prop passed from the parent component. It doesn’t have any logic either. Create a new file called Clock.js and paste the following code inside.
import React, { Component } from 'react';
import {
  Text
} from 'react-native';

export default class Clock extends Component {
  render() {
    return (
      <Text>{this.props.time}</Text>
    );
  }
}
Main Component Boilerplate
Open index.ios.js file and delete all of the code to start from scratch. Let’s import components we’re going to need, define our component’s class, add state definition, empty render method, and empty styles outside of the class.
import React, { Component } from 'react';
import {
  AppRegistry,
  StyleSheet,
  View
} from 'react-native';

export default class LearningProps extends Component {
  state = {

  }

  render() {

  }
}

const styles = StyleSheet.create({

});

AppRegistry.registerComponent('LearningProps', () => LearningProps);
Next, let’s start filling our component boilerplate up with the code.
State
Let’s define our initial state with time value set to empty string.
  state = {
    time: ''
  }
componentDidMount()
The componentDidMount is a lifecycle hook, which runs after a component has been rendered. We’re going to use this hook to set up a timer, which runs every second and update time in state with current time. Add the following code before render().
  componentDidMount() {
    setInterval(() => {
      this.setState({time: new Date().toLocaleString().split(' ')[1]});
    }, 1000);
  }
You can read more on available component lifecycle hooks here State and Lifecycle
render()
Next, let’s render <Clock> component inside render() and pass this.state.time to it.
  render() {
    return (
      <View style={styles.container}>
        <Clock time={this.state.time} />
      </View>
    );
  }
Styles
And finally, let’s center everything on the screen.
const styles = StyleSheet.create({
  container: {
    flex: 1,                    // take up all screen
    justifyContent: 'center',   // center children vertically
    alignItems: 'center',       // center children horizontally
  },
});
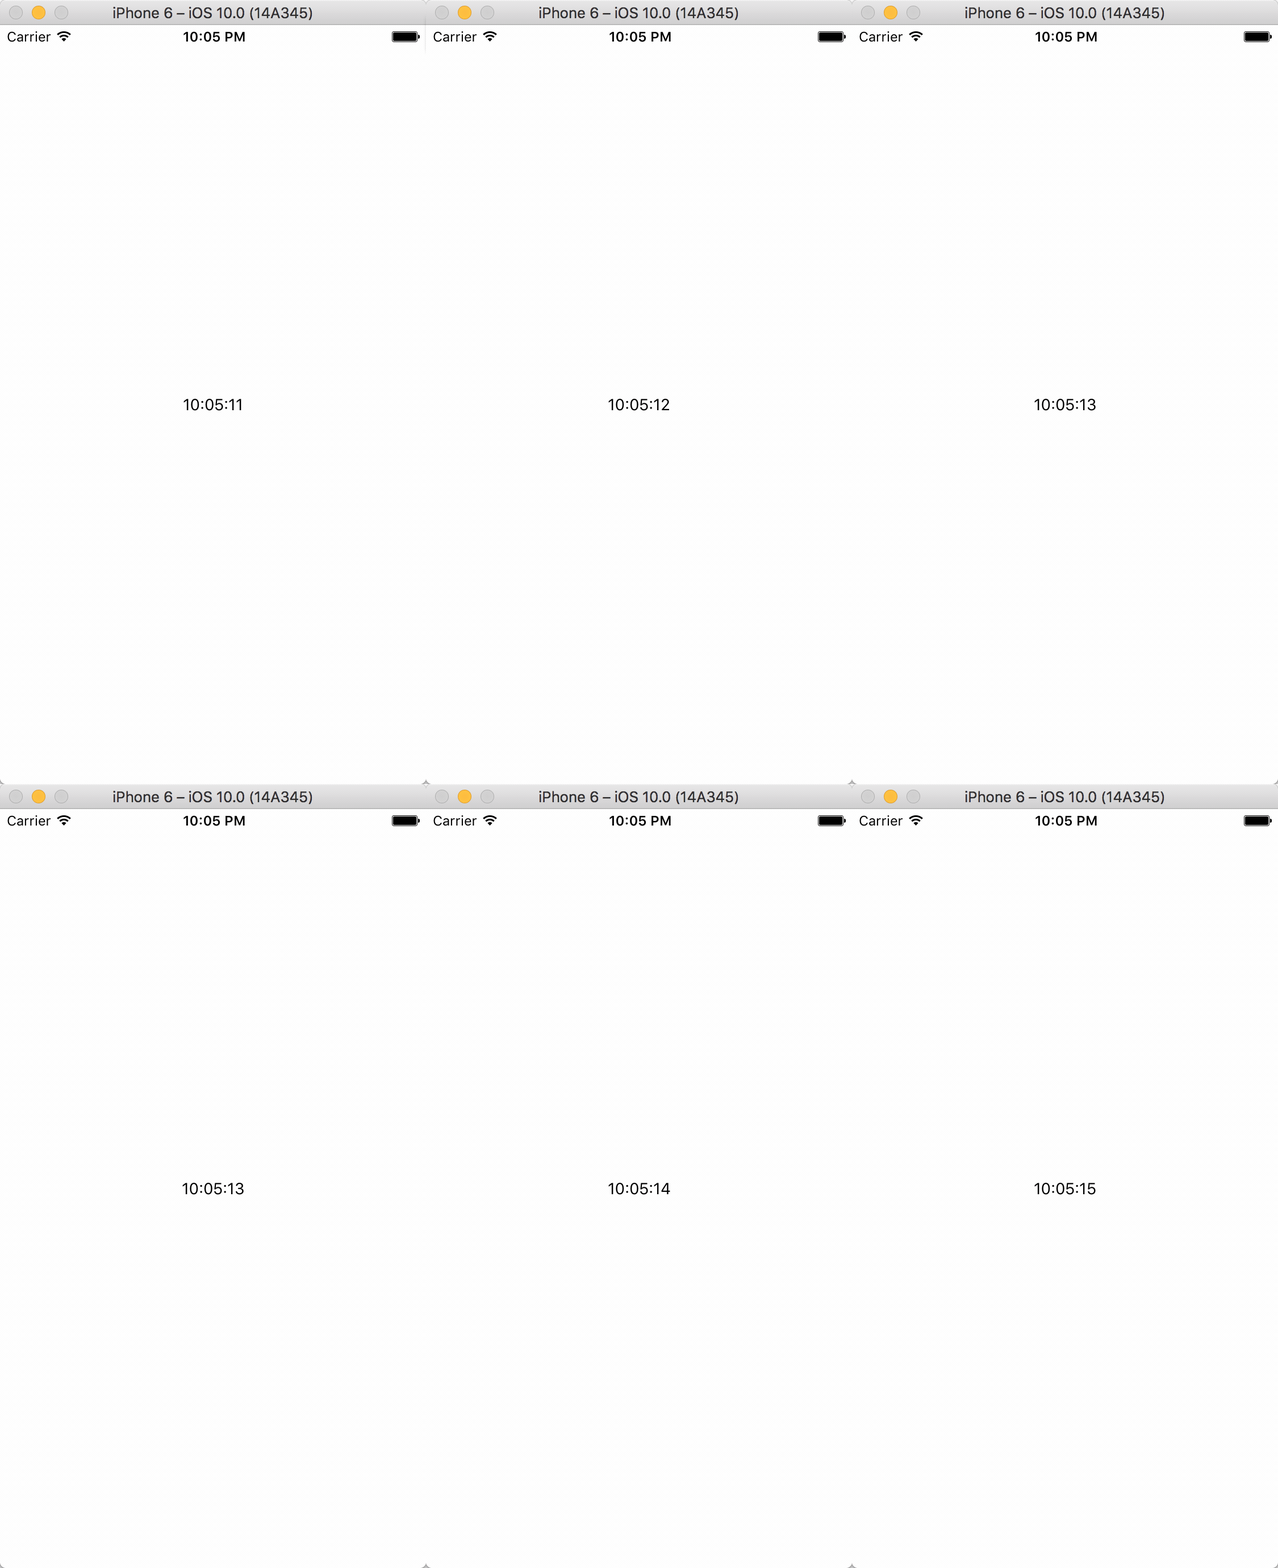
Result
And there it is. Pretty cool, huh?

Conclusion
You should be using props a lot in your apps. Here are some of the advantages that props help to achieve:
- Better code reusability. You can reuse the same components with different props.
- Decouple logic from presentation. It’s always a good idea to separate business logic and presentation layer for a cleaner and easier to understand code.
- Easier to read code. It’s easier to read code with many small components that utilize props and have a single responsibility, instead of code with fewer larger components with many responsibilities.


